The first time I looked into making a skateboard deck at home, I thought the hardest part would be cutting the board shape.
I was wrong.
The real challenge was figuring out how to press the wood layers into a proper skateboard shape without spending a crazy amount of money on professional equipment. A skateboard deck is not just a flat piece of wood. It has concave, nose curve, tail curve, and a solid laminated structure. That shape comes from pressure.
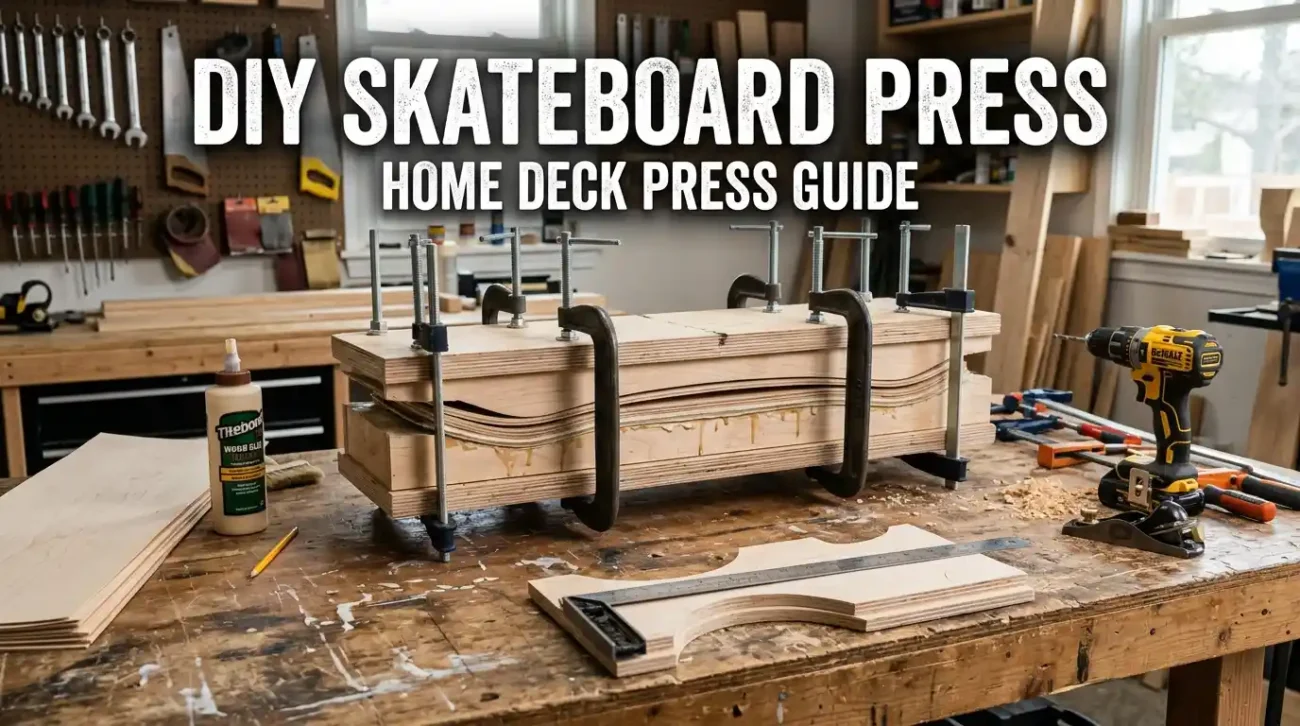
That is where a DIY skateboard press comes in.
If you have ever wanted to make your own deck, test custom shapes, or just understand how skateboards are built, making a simple press at home is a really fun project. It does take planning, and you should not rush it, but it is not impossible.
You do not need a factory setup. You can make a basic skateboard press using plywood, foam, clamps, wood glue, and a simple mold. It may not be perfect like a commercial hydraulic press, but it can help you press a usable homemade deck if you take your time.
What a Skateboard Press Actually Does
Table of Contents
A skateboard press holds thin layers of wood veneer together while the glue dries.
The pressure forces the layers into the shape of the mold. That is how the deck gets its concave and curved nose and tail. Without enough pressure, the deck can come out weak, uneven, or too flat.
When I first tested this, I underestimated how much pressure was needed. I thought a few clamps around the edges would be enough. The board looked okay at first, but after drying, some areas had tiny gaps between the layers. That means the glue did not bond evenly.
So the press is not just about bending wood. It is about creating even pressure across the full deck.
Before You Start: Be Realistic
A DIY skateboard press is a great home project, but it is not the easiest beginner project if you have never worked with wood before.
You need to measure carefully. You need to cut accurately. You need to apply glue evenly. You also need enough clamps or a strong pressing method.
Also, your first deck may not come out perfect. That is normal.
My advice is to treat the first attempt like a learning project. Make the press, test it, observe what goes wrong, then improve it. Most DIY deck makers get better after a few tries.
Materials You Will Need
Here is a basic list for a simple homemade skateboard press:
- Thick plywood sheets
- Wood blocks or shaped mold pieces
- High-density foam or shaped wooden mold
- Wood veneer layers for the skateboard deck
- Strong wood glue
- Clamps
- Drill
- Screws
- Jigsaw or circular saw
- Sandpaper
- Measuring tape
- Pencil
- Protective gloves
- Safety glasses
For glue, use a strong wood glue made for lamination. Regular weak craft glue is not enough. The deck has to handle body weight, pressure, and impact, so the bond between layers matters a lot.
For clamps, you need more than two. The more evenly you can apply pressure, the better your result will be.
Choosing the Press Style
There are a few ways to make a DIY skateboard press.
The easiest home method is a clamp press. This uses a top mold, bottom mold, and clamps around the board to squeeze the veneers into shape.
Another option is a foam mold press. This uses strong foam shaped to the deck curve. It is easier to shape than wood, but it must be firm enough to hold pressure.
Some builders use a vacuum bag press, which gives more even pressure, but that setup costs more and needs extra equipment like a vacuum pump.
For a simple home project, I recommend starting with a clamp-style press. It is easier to understand, cheaper to build, and good enough for learning.
Step 1: Decide the Deck Shape

Before building the press, decide what kind of deck you want.
A standard street skateboard deck is usually around 31 to 32 inches long and about 7.75 to 8.5 inches wide. If you want a cruiser or mini deck, the shape will be different.
Do not start with an extreme shape. A simple street deck shape is easier for a first project.
Draw your deck outline on paper or cardboard first. This helps you understand where the nose, tail, and middle concave will go.
You can also use an old skateboard deck as a reference. I have done that before, and it makes the planning easier. Just do not copy a brand logo or exact commercial design if you are making content or selling anything.
Step 2: Plan the Mold

The mold is the part that gives the skateboard its shape.
For a basic press, you need a bottom mold and a top mold. The wood veneers sit between them. When you clamp everything together, the veneers bend into the mold shape.
You can create the mold from layered plywood, shaped wood blocks, or high-density foam.
The main areas to plan are:
- Nose curve
- Tail curve
- Center concave
- Flat standing area
- Wheelbase area
Do not make the concave too aggressive on your first try. A deep concave looks cool, but it is harder to press evenly. A mild concave is safer and more beginner-friendly.
Step 3: Build the Base Board

Start with a strong plywood base.
The base needs to be wider and longer than the skateboard deck. It should not flex too much when pressure is applied.
Place your mold pieces on the base and mark their positions. Make sure everything is centered. If your mold is not aligned, your final deck can come out twisted.
This is a common DIY mistake. Even a small alignment issue can affect the final shape.
Use screws or strong adhesive to secure the mold pieces to the base. Check the shape again before moving forward.
Step 4: Create the Top Press Piece

The top piece presses down on the wood layers.
It should match the bottom mold shape as closely as possible. If the bottom mold pushes up at the nose and tail, the top press piece needs to push down evenly over those areas.
For a simple setup, you can use a flexible top board with foam padding. The foam helps spread pressure more evenly.
If you use hard wood on both sides, the shape needs to match better. Otherwise, some areas may get strong pressure while other areas barely touch.
This was one of the lessons I learned early. Pressure needs to be even, not just strong.
Step 5: Prepare the Veneer Layers

Skateboard decks are usually made from several thin layers of maple veneer. A common setup is seven plies.
For a DIY project, you can buy skateboard veneer kits online or from woodworking suppliers. Try to use veneer made for skateboard deck building if possible.
Lay out the layers before applying glue. Make sure the grain direction is correct according to the veneer instructions. Some layers may need to be cross-grain for strength.
Do a dry test first. Put the dry veneer layers into the press without glue and clamp lightly. This helps you see whether the mold works before you commit.
Skipping the dry test is risky. Once glue is applied, you are on the clock.
Step 6: Apply the Glue

Apply wood glue evenly across each layer.
Do not dump glue in one area and hope pressure spreads it everywhere. Use a roller, brush, or spreader. The goal is a thin, even coat.
Too little glue can cause weak bonding. Too much glue can make a mess and create uneven spots.
Work steadily but do not panic. Have everything ready before opening the glue. Your clamps, mold, and veneers should already be in position.
This step gets messy, so protect your work surface.
Step 7: Place the Veneers into the Press

Once the layers are glued, stack them carefully and place them into the bottom mold.
Make sure the stack is centered. Check the nose and tail alignment. If the veneer stack shifts during pressing, the final deck may come out uneven.
Then place the top press piece over the veneer stack.
This is where having another person nearby can help. One person can hold the layers aligned while the other starts adding clamps.
Step 8: Clamp the Press

Start clamping from the center, then move toward the nose and tail.
Do not fully tighten one clamp first. Tighten gradually across all clamps so the pressure spreads evenly.
You want firm pressure, but do not crush the mold or force the wood so aggressively that it cracks.
Use enough clamps along the sides, center, nose, and tail areas. If you only clamp the ends, the middle may not bond properly. If you only clamp the middle, the ends may lift.
After clamping, wipe away extra glue that squeezes out from the sides.
Step 9: Let It Cure

This is the step where patience matters.
Leave the deck in the press long enough for the glue to cure properly. Follow the glue manufacturer’s instructions. Many wood glues need at least several hours, but longer curing is often safer for a laminated deck.
I prefer leaving it overnight or longer, especially for a first attempt.
Do not remove it early just because it looks dry from the outside. The inner layers need time too.
Step 10: Remove and Inspect the Deck Blank

After the glue cures, remove the clamps slowly and take the deck blank out of the press.
Check for:
- Layer gaps
- Uneven curve
- Twisting
- Soft spots
- Glue issues
- Cracks near the nose or tail
If you see small cosmetic issues, that may be okay. But if layers are separating, the deck is not safe to ride.
A pressed deck blank still needs trimming, shaping, sanding, drilling truck holes, and finishing before it becomes a complete skateboard deck.
Cutting and Shaping the Deck
Once the blank is pressed, draw the final deck outline.
Use a jigsaw to cut the shape slowly. Stay slightly outside the line, then sand down to the final shape. This gives you more control.
Round the edges with sandpaper or a router if you have one. Sharp edges do not feel good and can chip more easily.
Take your time with sanding. This is where the deck starts to look real.
Drilling Truck Holes
Use an old deck as a guide or use a proper skateboard truck hole template.
Measure carefully. If the holes are off, the board may not ride straight.
Drill straight down and avoid rushing. Clean the holes after drilling.
Before riding, test-fit the trucks and make sure everything lines up correctly.
Finishing the Deck
You can finish the deck with clear coat, paint, stain, or a custom graphic.
If you want the wood layers to show, a clear finish looks great. If you want a custom look, paint the bottom and seal it afterward.
Let the finish dry completely before applying grip tape or assembling the board.
Do not apply grip tape too early if the finish still feels tacky.
Common Mistakes to Avoid
One common mistake is using weak wood or random plywood instead of proper veneer. A skateboard deck needs strength and flexibility. Ordinary thick plywood is not the same thing.
Another mistake is not applying enough pressure. A few clamps may not create even bonding.
Poor mold alignment is also a big problem. If your mold is crooked, the final deck may be twisted.
Using too much glue can also cause trouble. More glue does not always mean stronger. Even coverage matters more.
And the biggest safety mistake is riding a deck with visible layer separation. If the layers are not bonded properly, the deck can fail.
Is a DIY Skateboard Press Worth It?
If your goal is to save money, maybe not.
Buying a good skateboard deck is usually easier and often cheaper than buying materials, tools, clamps, veneer, and glue.
But if your goal is learning, customizing, or making something with your own hands, then yes, it is absolutely worth it.
There is something satisfying about pressing a deck, shaping it, finishing it, and seeing it turn into a real board. Even if your first version is not perfect, you learn a lot about how skateboards are made.
Safety Notes Before Riding a Homemade Deck
A homemade deck should be tested carefully.
Start by standing on it slowly. Check for cracking sounds, flex issues, or layer movement. Do not immediately take it to stairs, rails, or heavy tricks.
Try light riding first on smooth ground. If anything feels weak, stop using it.
This is not meant to scare you. It is just common sense. A skateboard takes real impact, so the deck needs to be solid.
If you are making a deck mainly for wall art or display, you have more freedom. But if you plan to ride it, strength matters more than looks.
Final Thoughts
Building a DIY skateboard press at home is one of those projects that teaches you more than you expect.
You learn about wood, pressure, glue, shape, patience, and why skateboard decks are built the way they are. The first attempt may not be perfect, but that is part of the process.
Start simple. Use a basic mold. Keep the concave mild. Use proper veneer and strong glue. Test everything before riding.
And even if your first pressed deck ends up as wall art instead of a daily rider, it is still a win. You made something with your hands, and that is exactly what makes DIY skateboard projects fun.