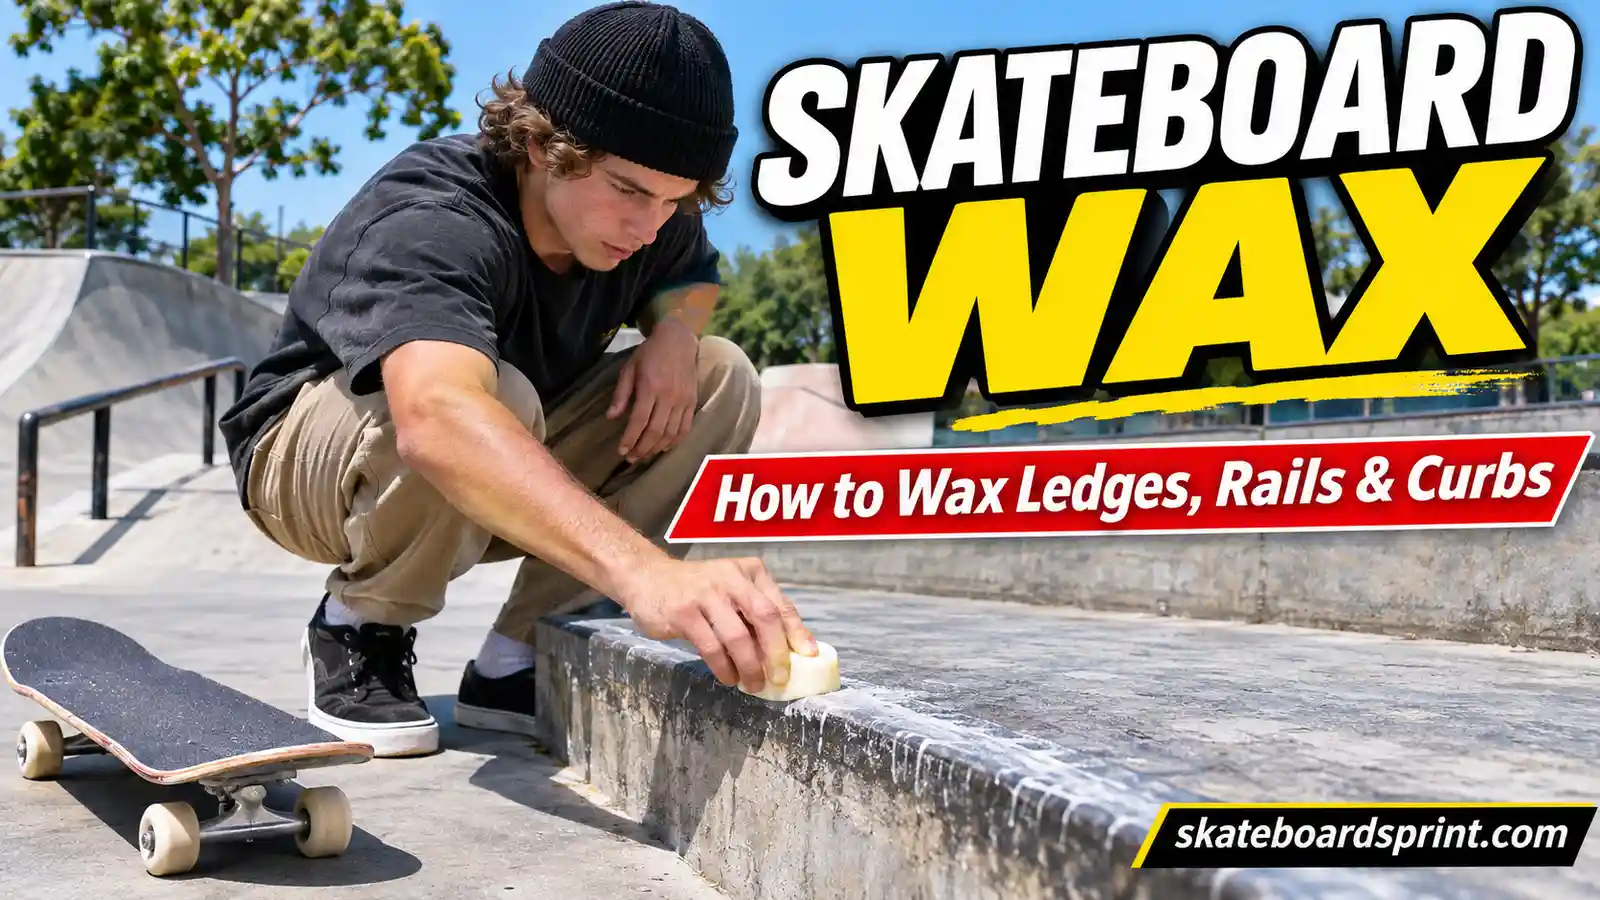
The first time I tried to grind a rough concrete ledge, the trick barely started. My trucks caught, my weight pitched forward, and I stepped off feeling like the ledge had grabbed my board. I was blaming my technique until I noticed something simple: the surface was dry, gritty, and nowhere near as smooth as it looked from a few feet away.
That is where skateboard wax comes in. A little wax in the right place can help a grind or slide move instead of stopping abruptly. But the key word is little. Too much can turn a predictable obstacle into something surprisingly fast, and waxing a spot without permission can create a real hazard for other people.
This is the approach I use when deciding whether a ledge, rail, or curb needs wax: check permission, inspect the obstacle, clean it, apply a conservative amount, then test it cautiously. You do not need a complicated kit or a thick, shiny coating.
Table of Contents
What Is Skateboard Wax and Why Do Skaters Use It?
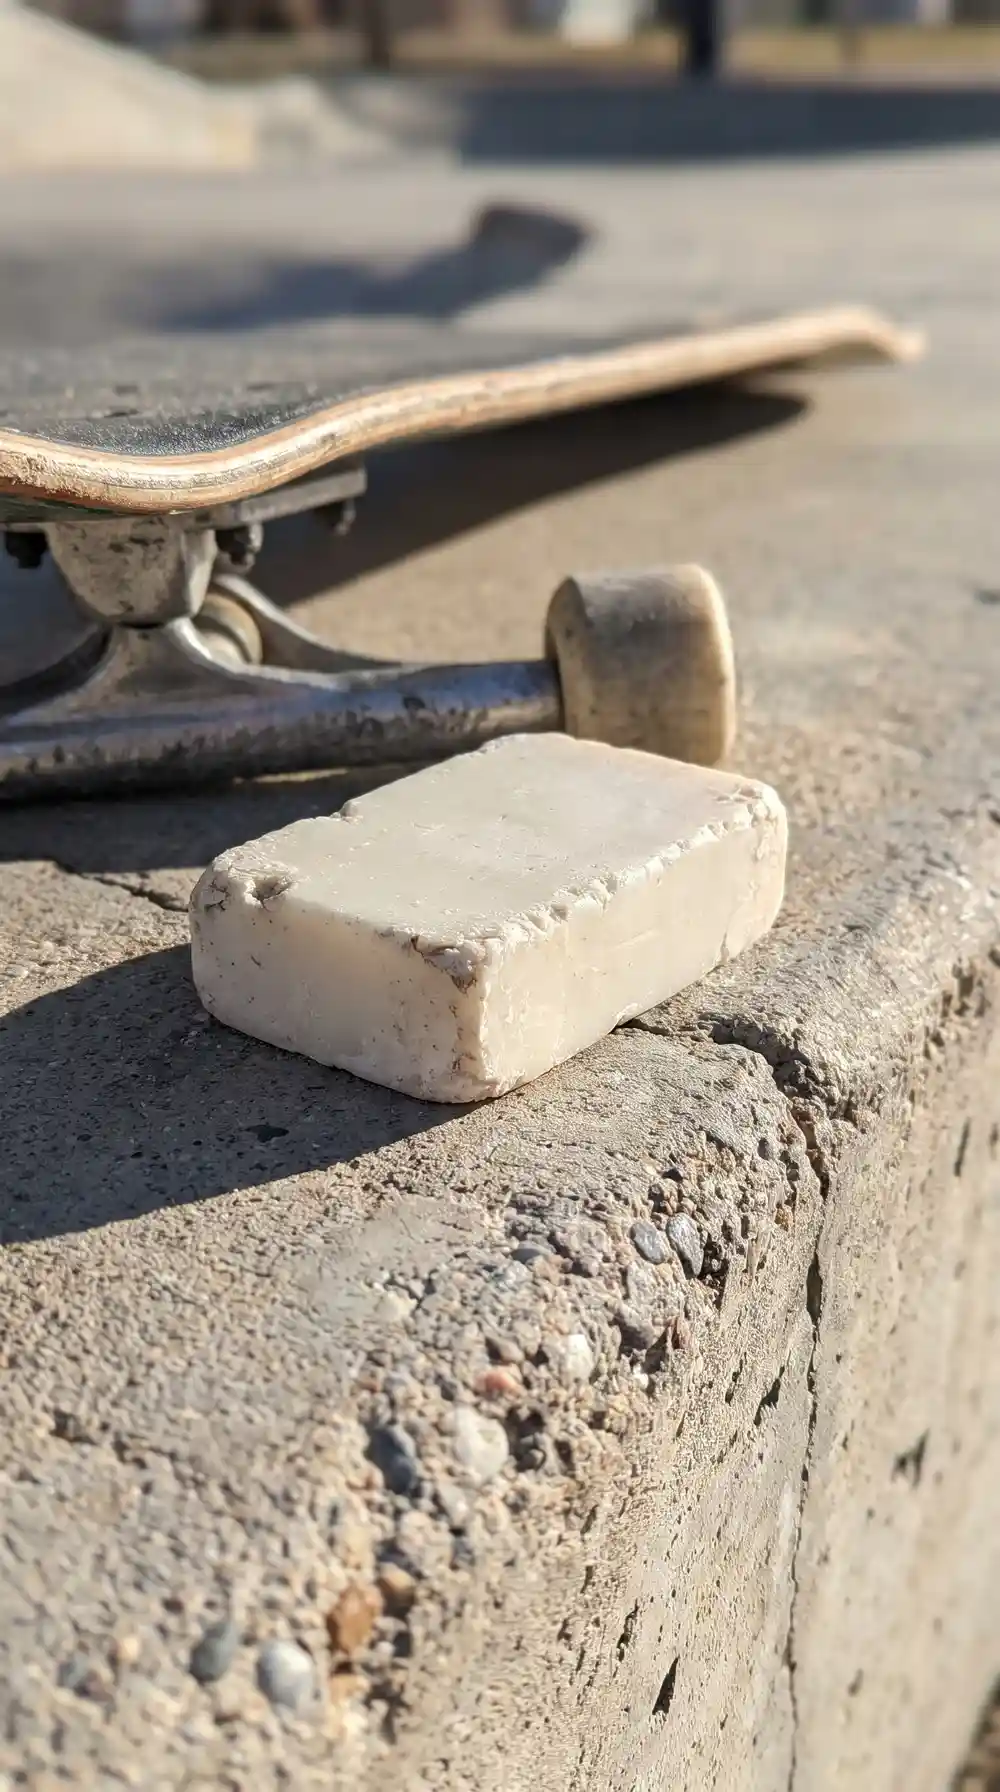
Skateboard wax is a solid lubricant that reduces friction where a board or its trucks contact an obstacle. It is commonly made from paraffin or a blend of waxes. Some skate-specific bars are firmer and easier to carry than a household candle, but their job is basically the same: leave a thin, slippery film on a suitable surface.
During a boardslide, the underside of the deck rubs along a rail or ledge. During certain grinds, your metal trucks contact the obstacle. If the surface is rough, that contact can slow the trick or stop it. Skate wax helps reduce the drag. It cannot repair chipped concrete, make a loose rail safe, or replace good balance and proper speed.
One detail beginners miss: the wax belongs on the contact surface of an approved obstacle, not on your grip tape, wheels, or the ground you use to push and walk. Slippery wheels and walking areas create problems you do not want.
Where Should You Apply Skateboard Wax?
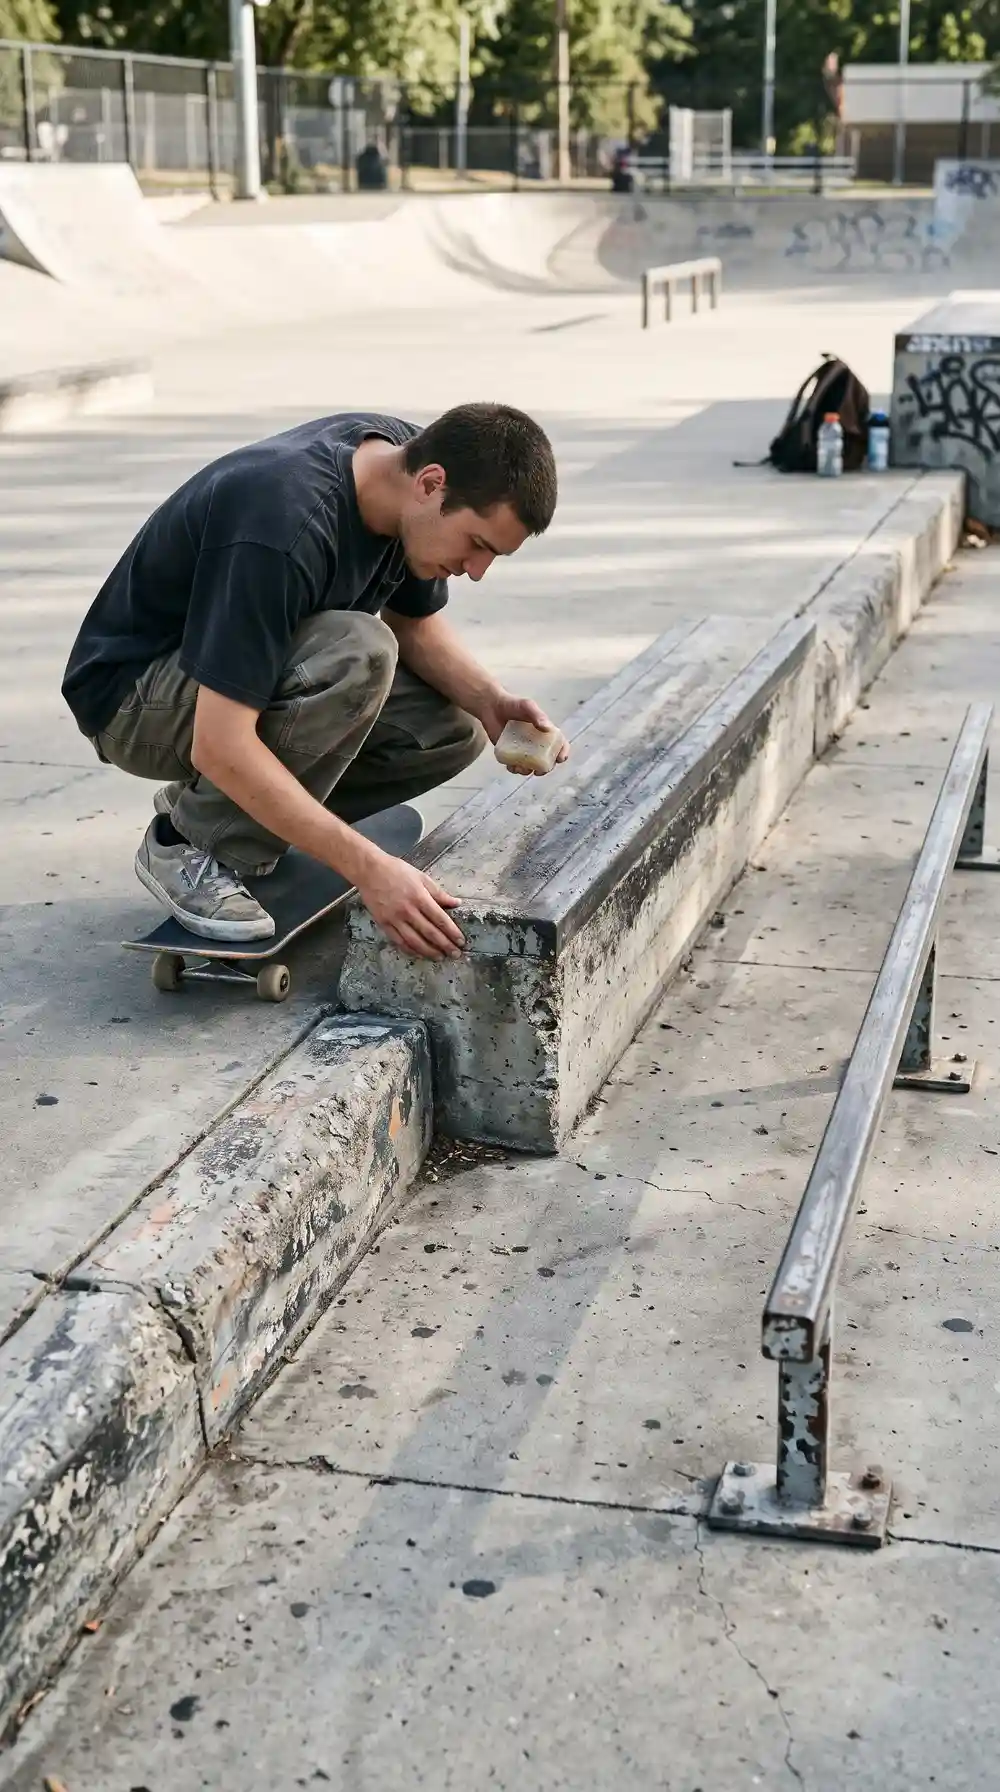
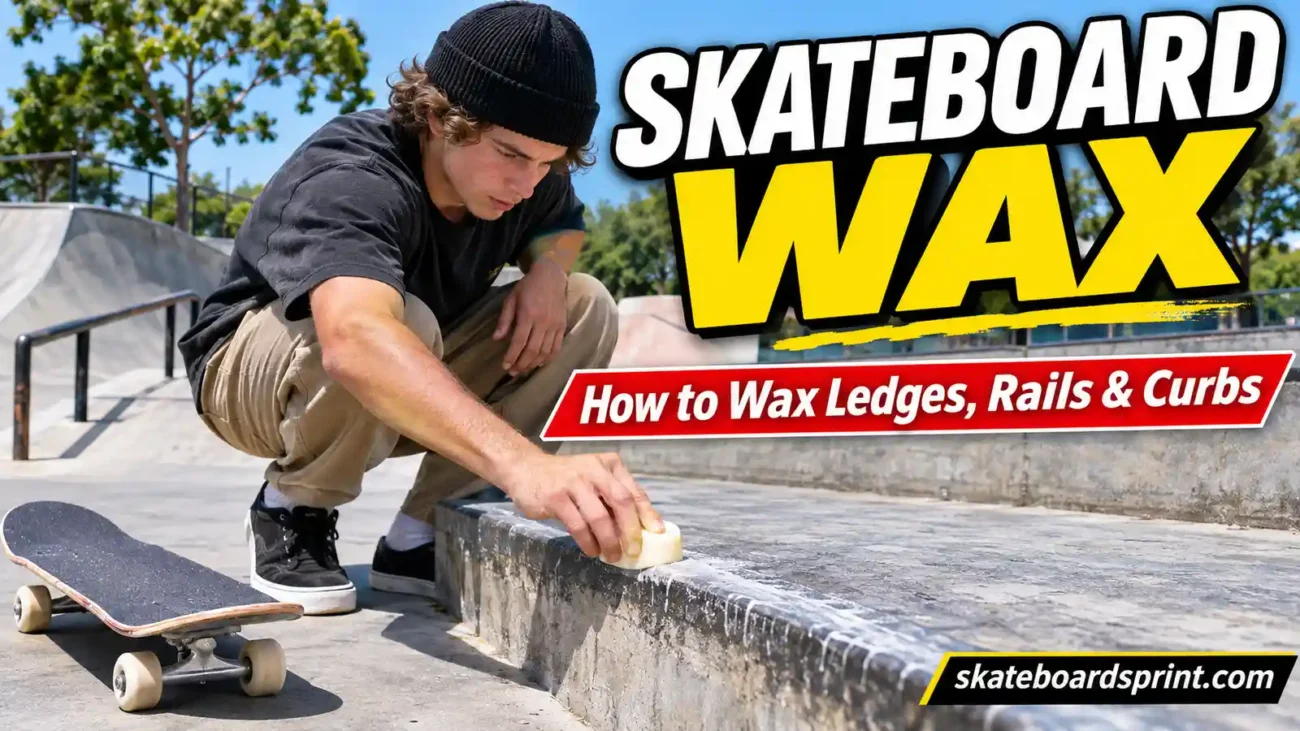
Concrete ledges: On a permitted skate ledge, focus on the upper edge or the narrow strip the deck or trucks actually touch. Rough concrete often needs only a light pass once it is clean. Waxing the entire top is usually unnecessary.
Metal rails: Many skatepark rails are already smooth. Run a visual check before using skateboard wax for rails, because more slip is not always better. If a rail already slides consistently, leave it alone.
Curbs: A designated skate curb can be great for learning low, controlled grinds. Curb wax for skateboarding should go only on the riding edge, not onto the sidewalk or pedestrian path. Some curbs are too crumbly or damaged to skate safely no matter how much wax you add.
Do not wax private property, benches, public handrails, stairs, shared walkways, or skatepark obstacles without permission. Wax can stain surfaces, change how an obstacle rides for the next person, and become a slipping hazard. Where a park or property owner does not allow wax, respect that rule and choose another spot.
What You Need Before Applying Skateboard Wax
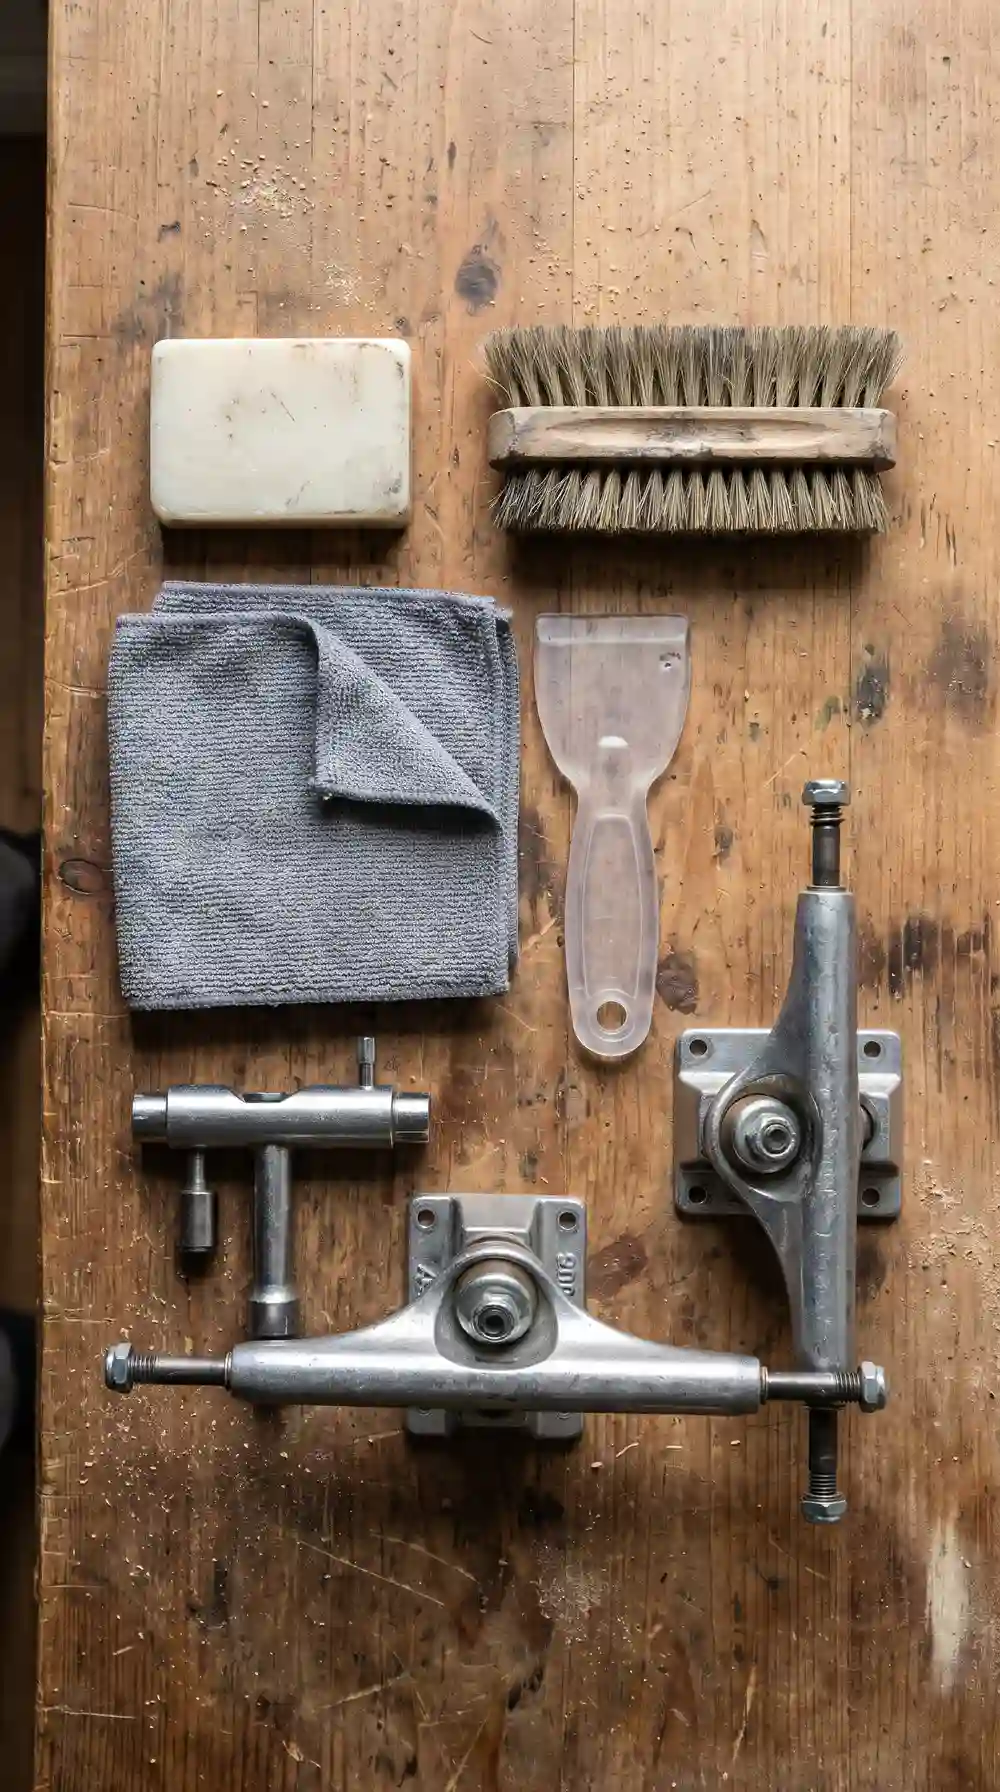
My kit stays simple: a small bar of skateboard wax, a soft brush or old rag for removing dry grit, a second clean cloth, and a bag to carry everything out. Closed-toe skate shoes and a helmet are sensible basics; pads are especially useful while learning. I also check the park rules before opening the wax.
You do not need oil, grease, spray lubricants, or a heat gun. Liquids can spread beyond the contact area, leave a mess, and make conditions unpredictable. A small, firm bar of skateboard wax gives you much better control.
Before you apply skateboard wax, be sure you can already approach, pop, and roll away from a similar low obstacle. Wax is not a shortcut for those fundamentals.
Step 1: Inspect the Surface Before Applying Skateboard Wax
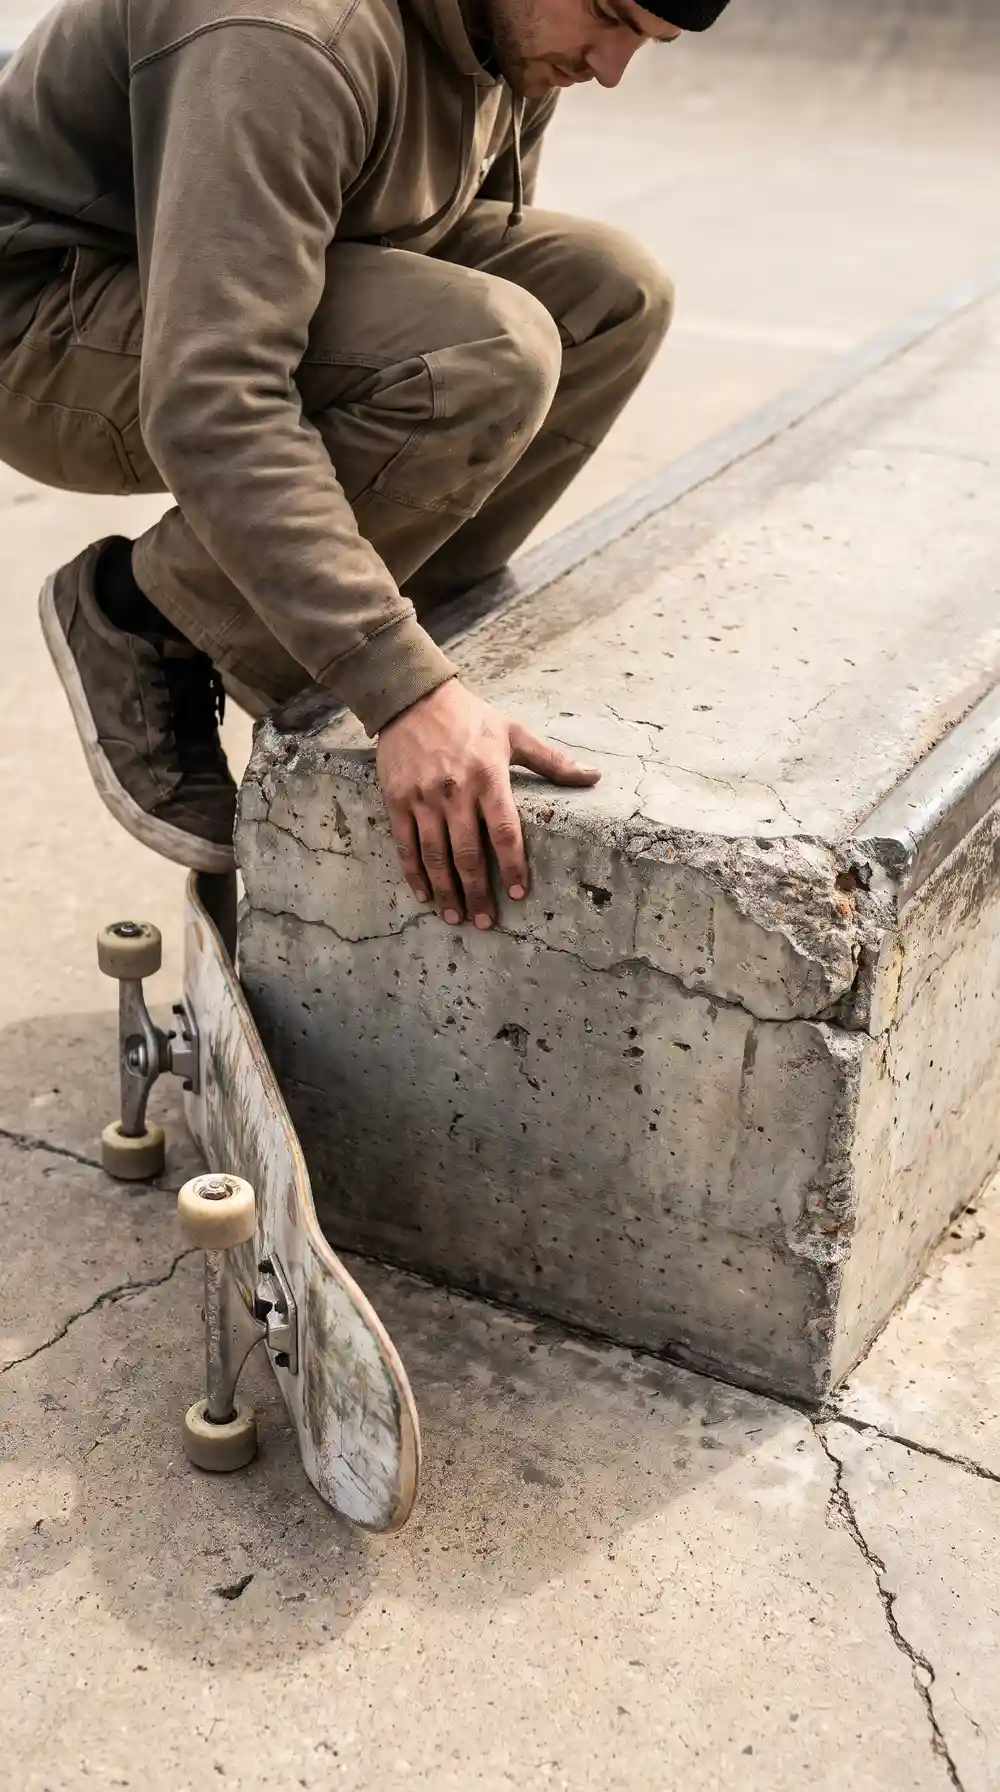
I walk the whole obstacle before I even take the skateboard wax out. Is the edge solid? Are there cracks, broken corners, exposed screws, sharp metal, or loose coping? Is the landing clean and open? Does anyone else use the space as a walkway?
A rough but intact ledge is one thing. A broken ledge with jagged patches is another. Waxing the second one can hide the problem without solving it. Skip obstacles that are damaged, unstable, wet, or in a shared area where someone could slip.
On a skatepark rail, look for existing wax or polished metal. If the contact line is already slick, there may be no reason to add more. I would rather make a few careful observations than spend the rest of a session trying to undo an overly slippery setup.
Step 2: Clean the Ledge or Rail
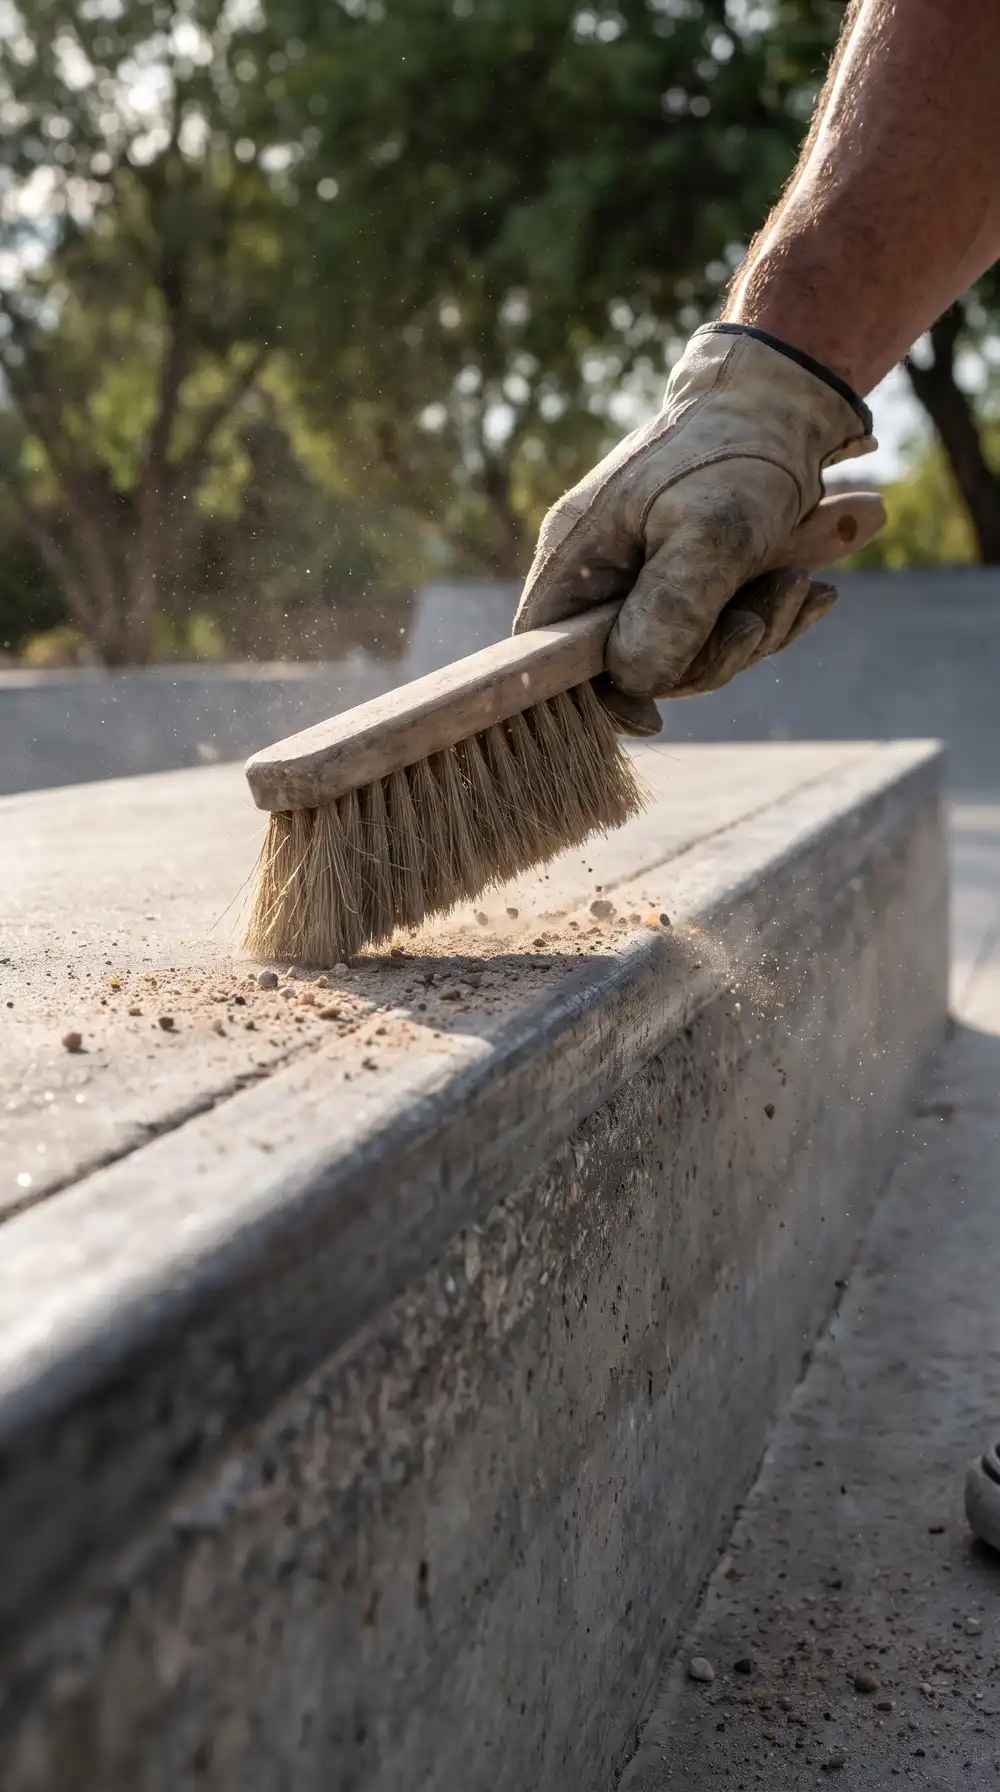
Dust, sand, and little stones get between the board and the obstacle. Skateboard wax pressed over dirt can trap grit and make a lumpy surface instead of a consistent one. Start by brushing the contact edge with a dry soft brush, then wipe it with a rag.
If the surface needs more than a dry wipe, follow the skatepark or property owner’s cleaning guidance. Let the obstacle dry completely before skating. I avoid soaking outdoor concrete: standing water and damp landing areas can create their own hazards.
This step may feel boring, but it makes the amount of skateboard wax you apply easier to judge. You are working with the actual ledge surface rather than a layer of dust.
Step 3: Apply a Thin Layer of Skateboard Wax
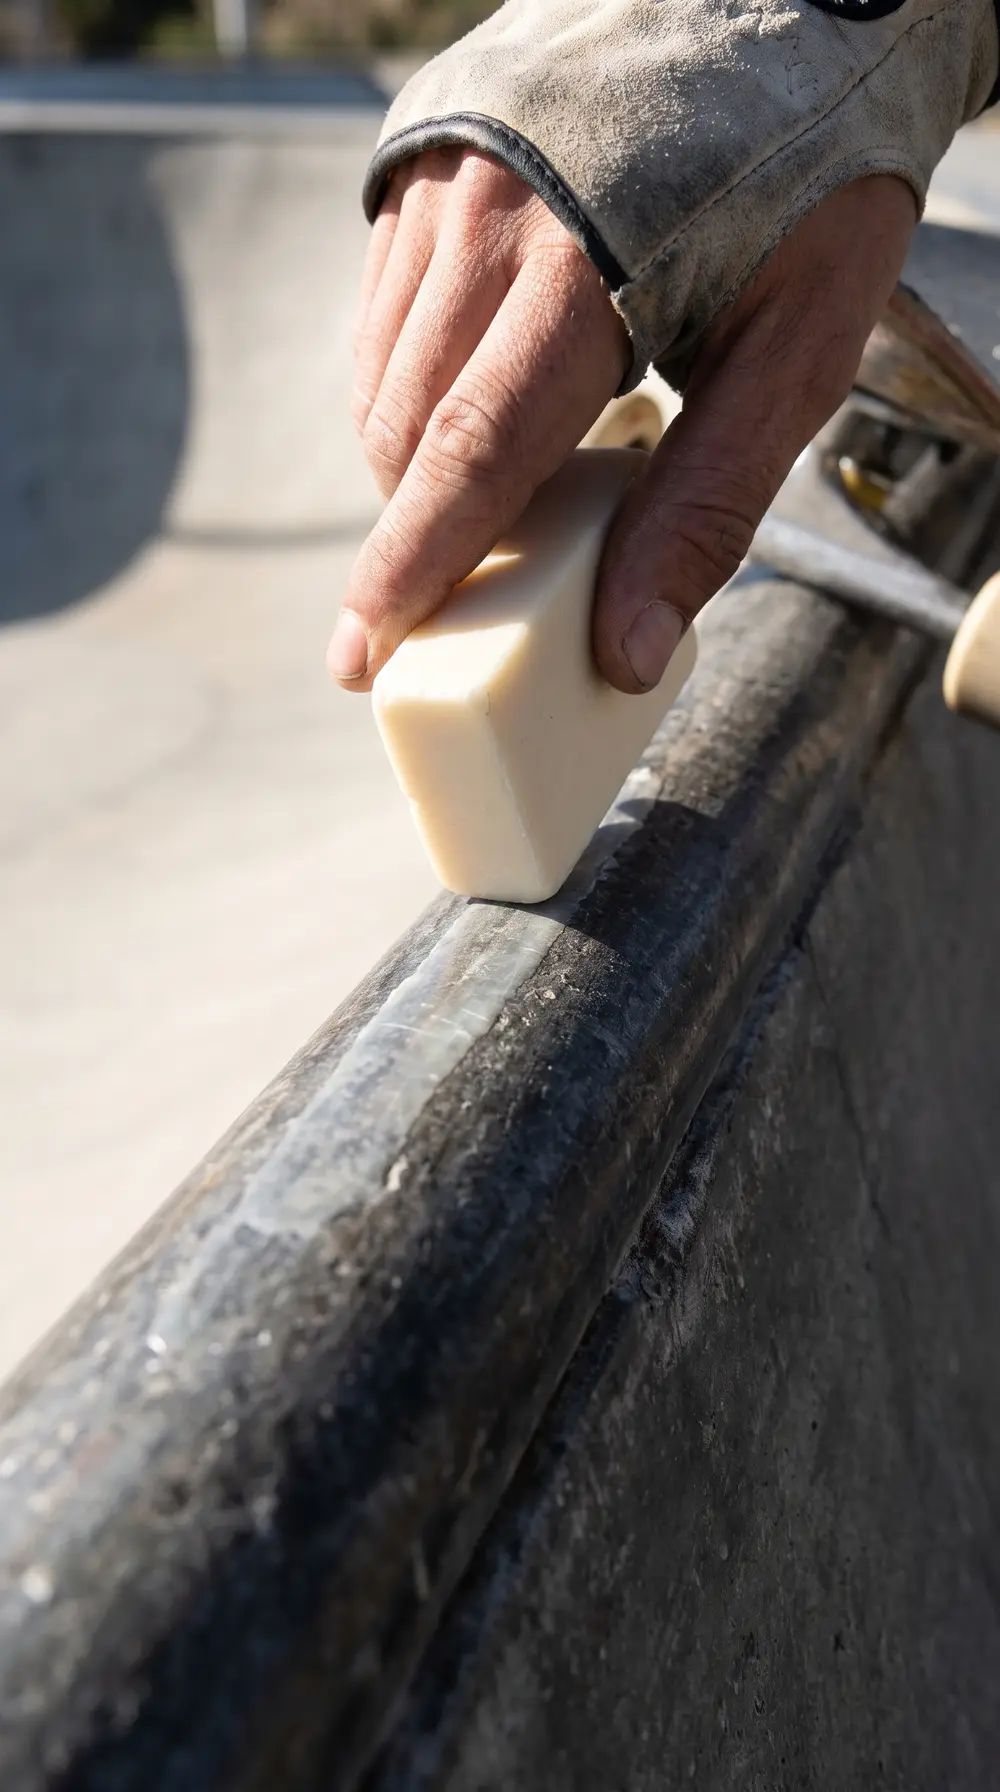
Hold the bar firmly and rub it along the approved contact line with a few light, even strokes. For a ledge, that often means the outer upper edge that the trucks or deck will touch. For a permitted rail, follow the narrow contact area rather than coating every side.
Start with less skateboard wax than you think you need. I have made the mistake of going back and forth too many times because the surface did not look shiny enough. Appearance is not the test. How the obstacle behaves under a controlled, low-speed attempt is the test.
There is no magic number of passes. Different wax blends, temperatures, concrete textures, and existing coatings all change the result. A light first pass is easier to adjust than a thick layer.
Step 4: Spread the Wax Evenly
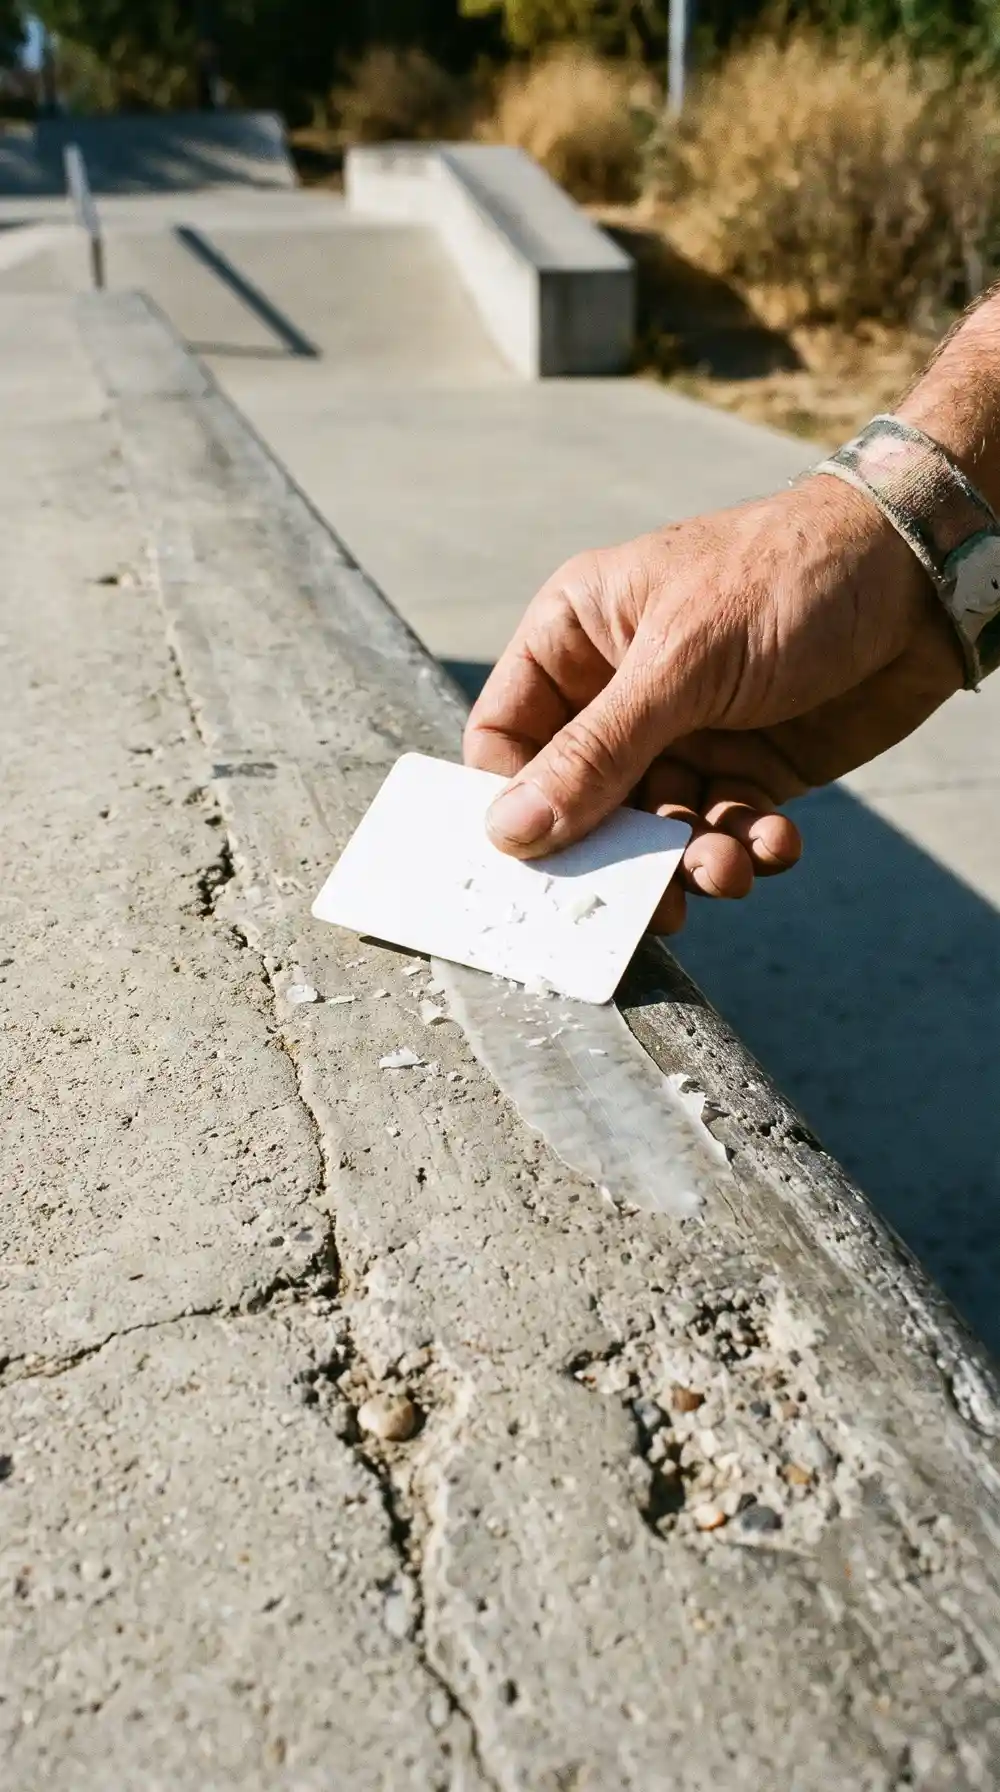
Look along the edge for clumps or obvious thick spots. You want a consistent film on the contact line, not a ridge of wax sitting on top of it. If a corner has more than the rest, gently smooth or remove the extra with your cloth or a suitable scraper approved for that surface.
Keep skateboard wax away from approaches, landing zones, walking surfaces, and sections people may touch for support. More area covered does not mean a better grind. It simply changes more of the obstacle than necessary.
If the ledge is long, work in a small section you are permitted to skate rather than automatically coating the full length. This keeps testing controlled and minimizes residue.
Step 5: Test the Surface Carefully
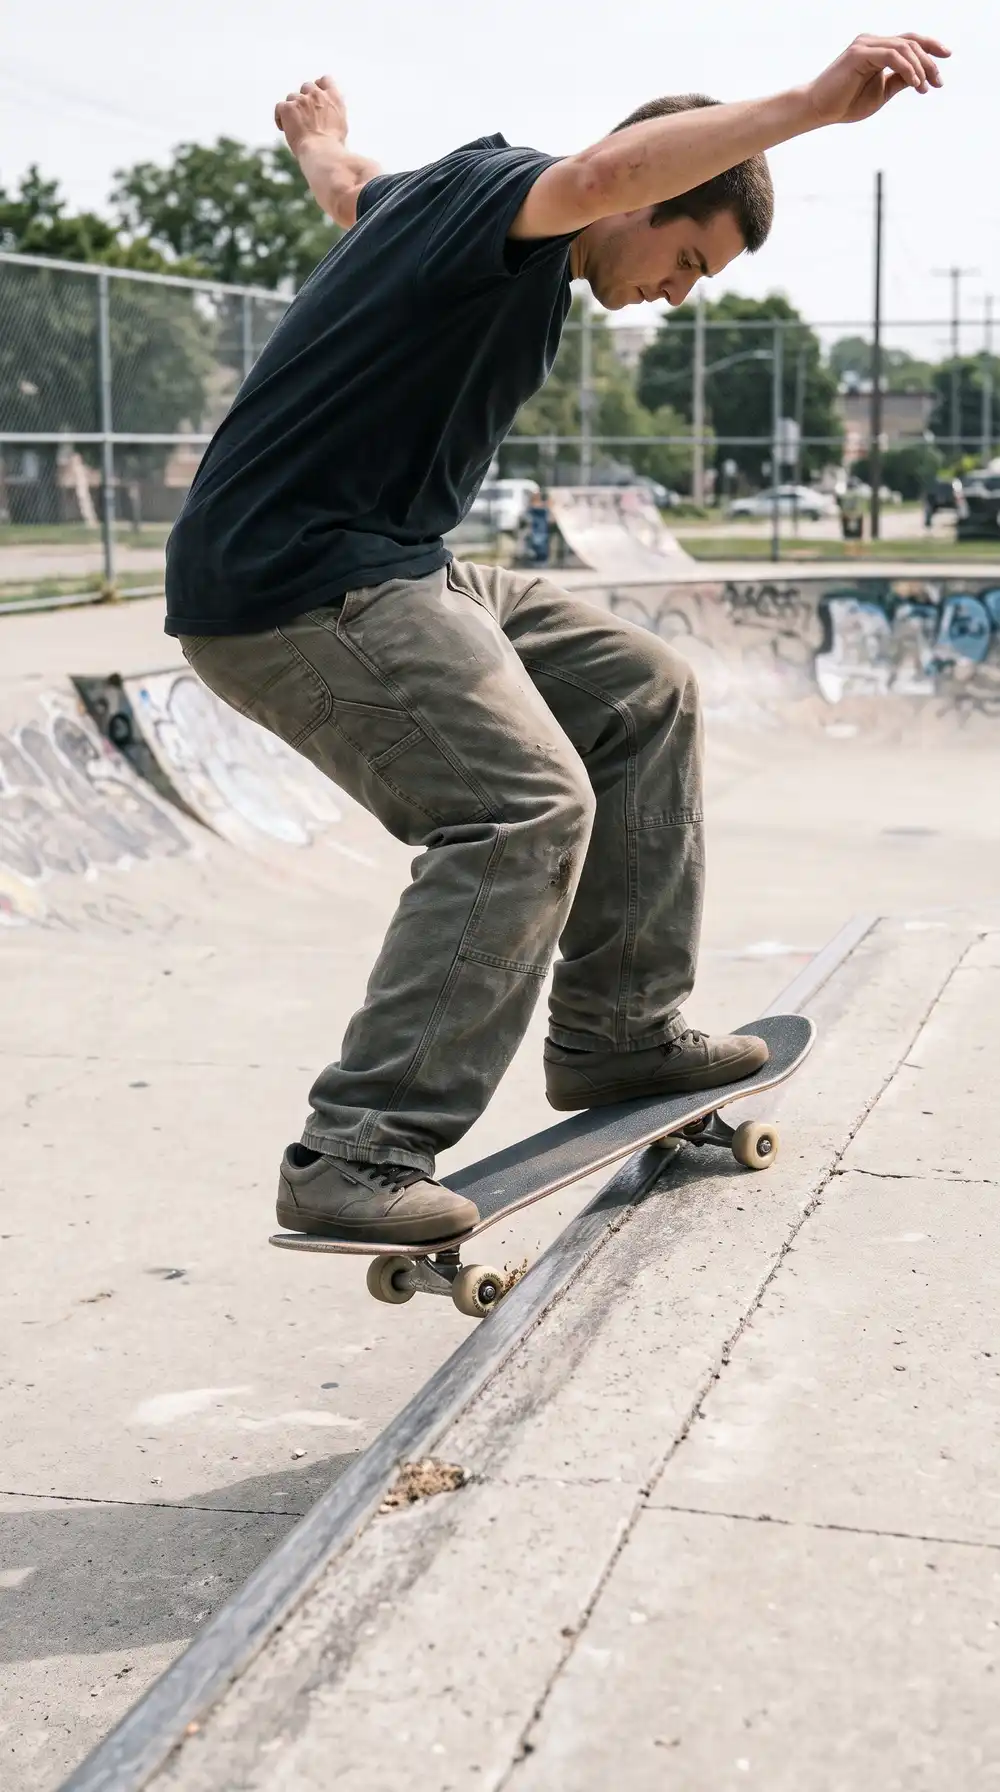
Before trying your full trick, check that the approach and landing are clear. If you are not comfortable testing the contact point, ask an experienced skater or park staff for help. Start on a low, familiar obstacle with appropriate protective gear, and keep your speed conservative.
A cautious first attempt should tell you whether the obstacle catches, glides smoothly, or moves faster than expected. If the board accelerates suddenly, stop. Do not answer an overly slick ledge by just committing harder. Remove excess wax and reassess the line.
Also remember that the same surface can feel different for a 50-50 grind and a boardslide. Contact materials, board angle, speed, and rider skill all matter. I never assume a good result on one trick means every trick will feel identical.
Step 6: Recheck the Surface After a Few Attempts
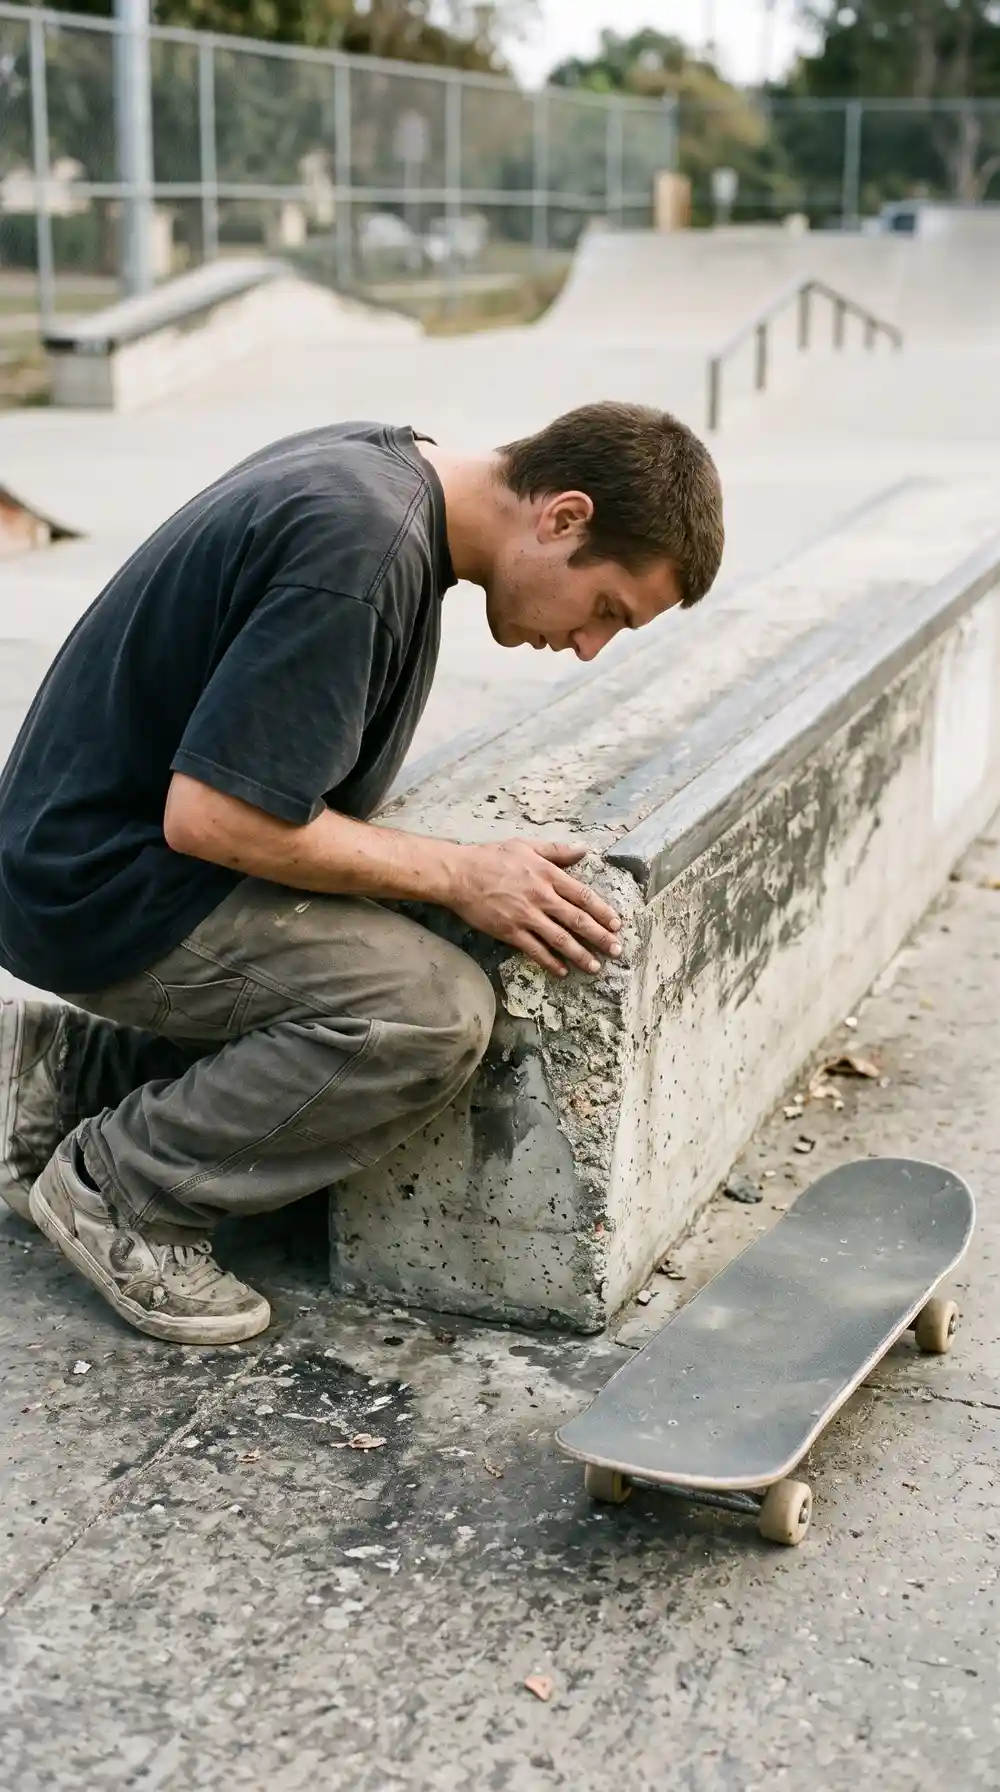
Skateboard wax can spread, collect dirt, and wear unevenly as boards pass over it. After a few attempts, step back and inspect the contact strip again. Has the surface become inconsistent? Are little flakes building up? Did any wax get onto the approach or landing?
If everything is smooth, there is no reason to add more. If one section catches and the rest slides, first check for damage or trapped grit. The fix is not always more skateboard wax. Sometimes a different obstacle is the smarter call.
When other skaters are sharing the spot, tell them if you have changed a surface’s feel. Nobody should discover an unexpectedly fast rail halfway through a trick.
How Much Skateboard Wax Should You Use?
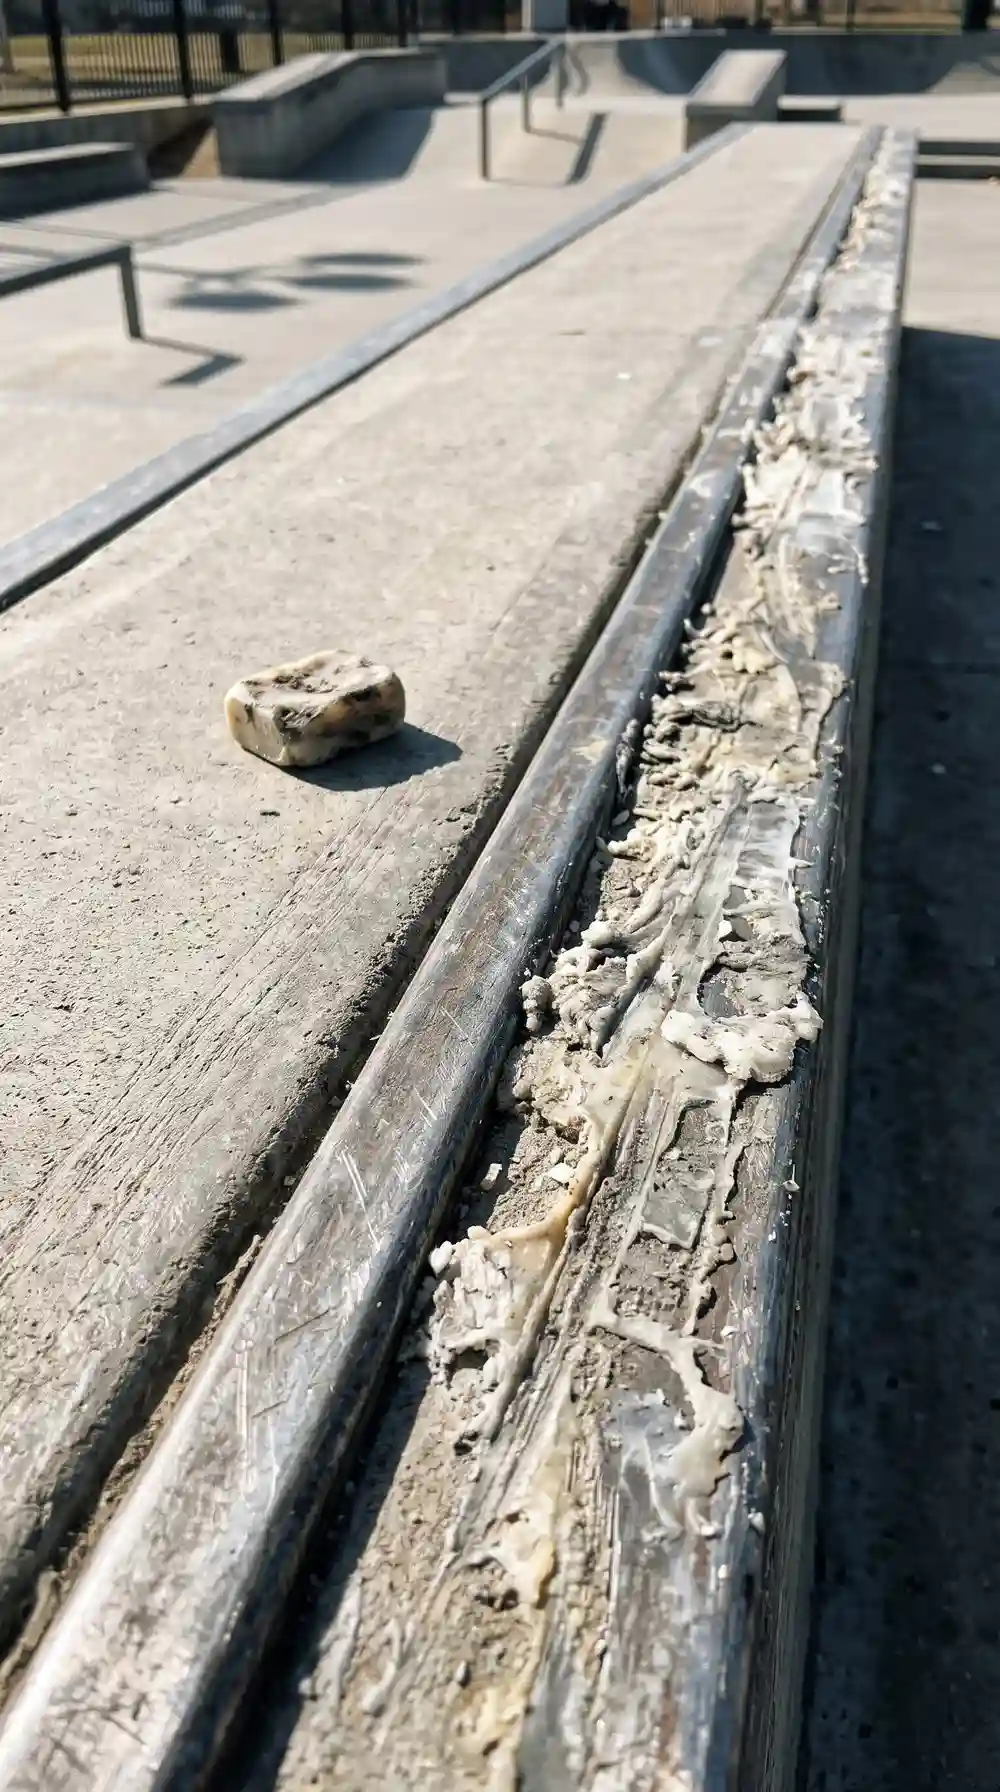
Use the minimum amount needed for a predictable slide on a permitted obstacle. That is a better rule than counting strokes or trying to make the concrete glossy. A short, lightly coated section may need no extra wax at all, especially if plenty of skaters have already used it.
Some porous concrete seems to absorb wax quickly, but do not keep loading it up without testing. A tiny change in friction can make a noticeable difference. Temperature matters too: wax can soften in the heat or behave differently when conditions change.
When I am unsure, I stop and assess instead of adding another layer. Once an obstacle is too slick, taking skateboard wax off is more trouble than putting a little on.
How to Remove Excess Skateboard Wax Buildup
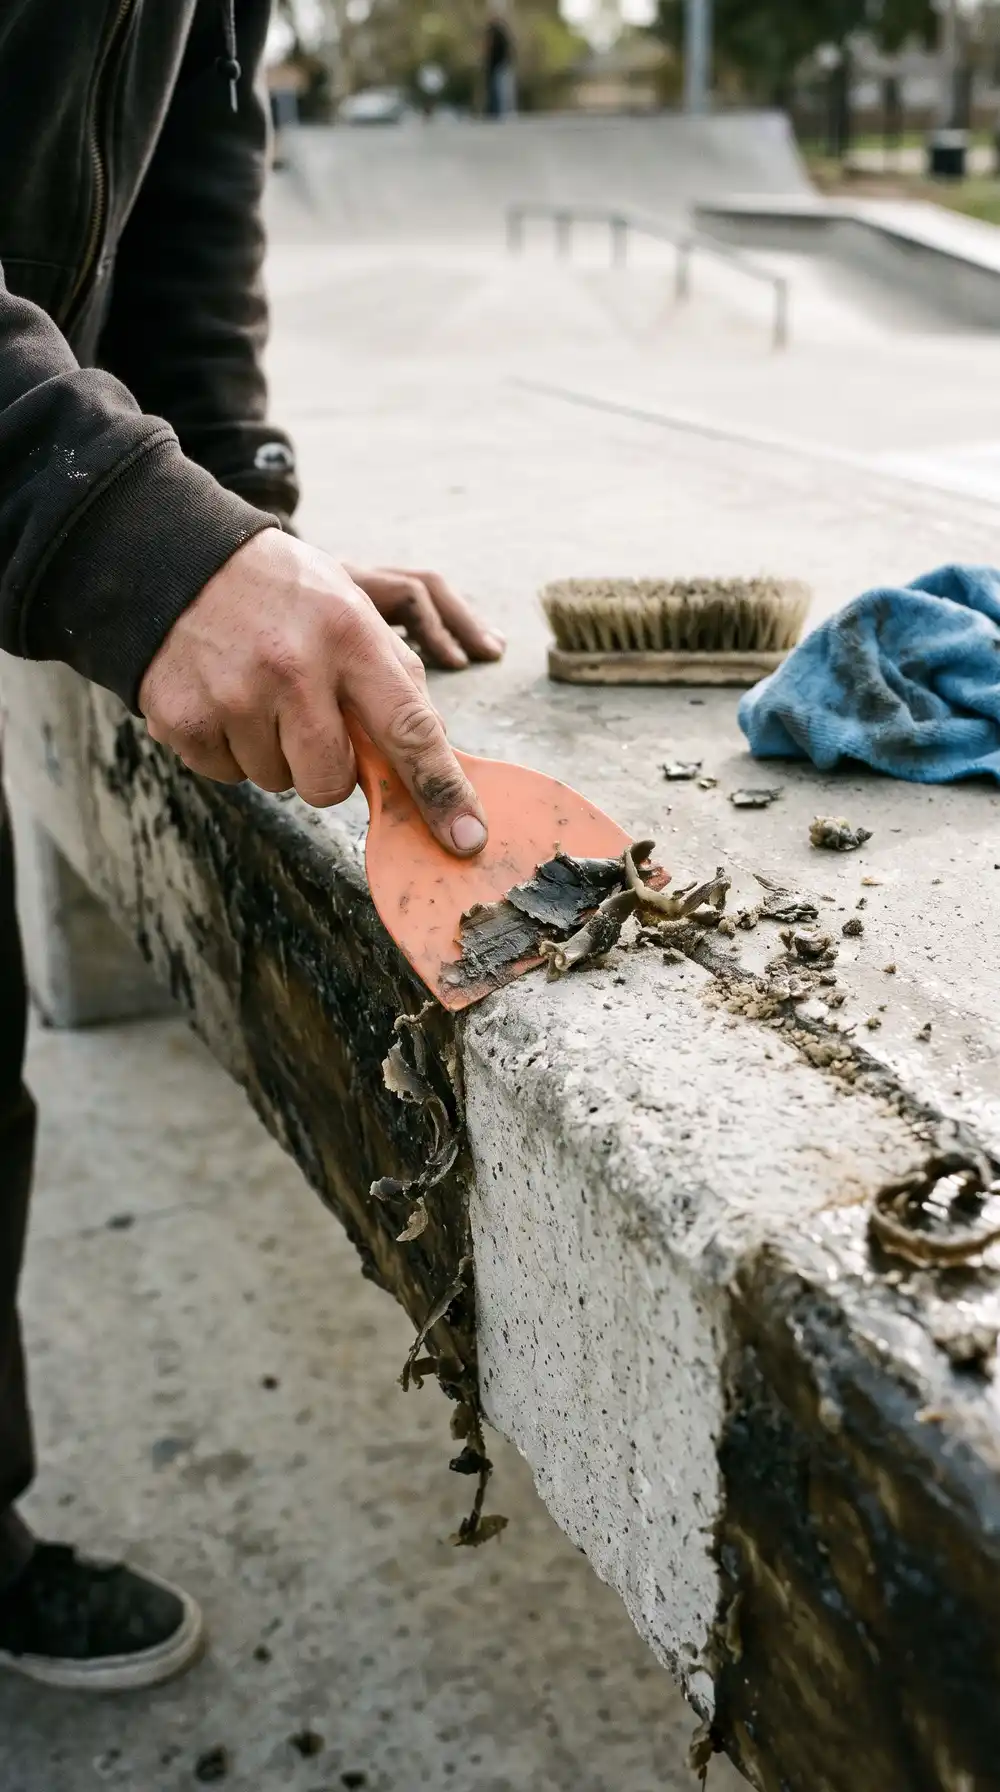
On a surface where you have permission to clean, start with a plastic scraper or an old plastic card held carefully against the wax buildup. Lift off excess skateboard wax without gouging the ledge. Gather the scrapings rather than brushing them onto the pavement.
Wipe remaining loose residue with a rag and follow the facility’s cleaning instructions for any stubborn film. Avoid solvents, open flames, aggressive heating, or metal blades. Those methods can damage finishes, introduce fumes, or create safety problems.
Some wax stains porous concrete and cannot be fully removed with a simple wipe. That is another reason to seek permission before applying it. If a public facility wants its staff to handle cleanup, let them.
Common Skateboard Waxing Mistakes and How to Fix Them
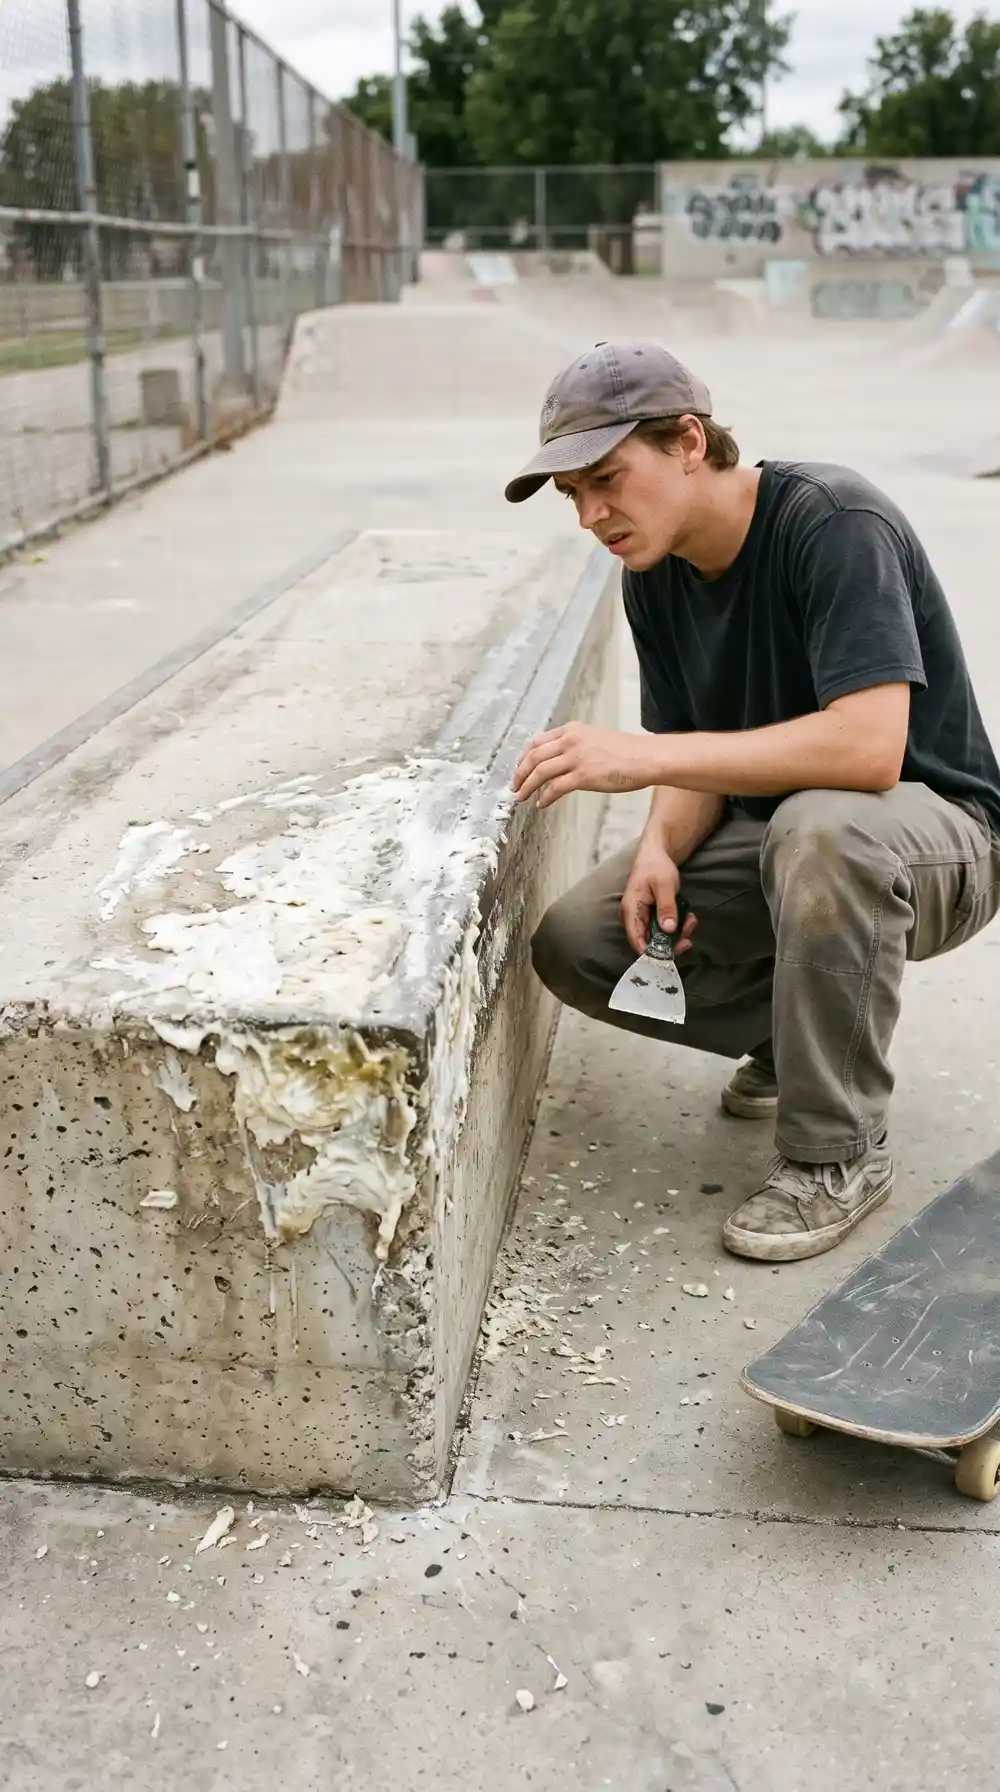
Mistake: Coating the whole ledge. Fix: Limit wax to the permitted contact line. Wipe or scrape excess buildup where authorized. A broad slick patch can affect someone walking or sitting nearby.
Mistake: Waxing before cleaning. Fix: Remove dust and grit first. Wax over debris can make the slide feel rough and unpredictable.
Mistake: Assuming every rail needs wax. Fix: Inspect the existing finish. Many metal rails are smooth enough without additional lubricant.
Mistake: Adding more after every failed trick. Fix: Check foot position, speed, approach angle, and whether the obstacle is suitable. Friction is only one part of the trick.
Mistake: Trying to rescue chipped concrete with wax. Fix: Do not skate the damaged edge. Wax does not restore structural integrity.
Mistake: Forgetting other users. Fix: Never change a shared obstacle without permission, and let nearby skaters know about any permitted change. Clear away loose wax scraps afterward.
My most useful lesson has been that a steady, predictable obstacle beats an ultra-slippery one. A grind you can control is worth more than a slide that surprises you.
Safety Tips: What Every Skater Should Know
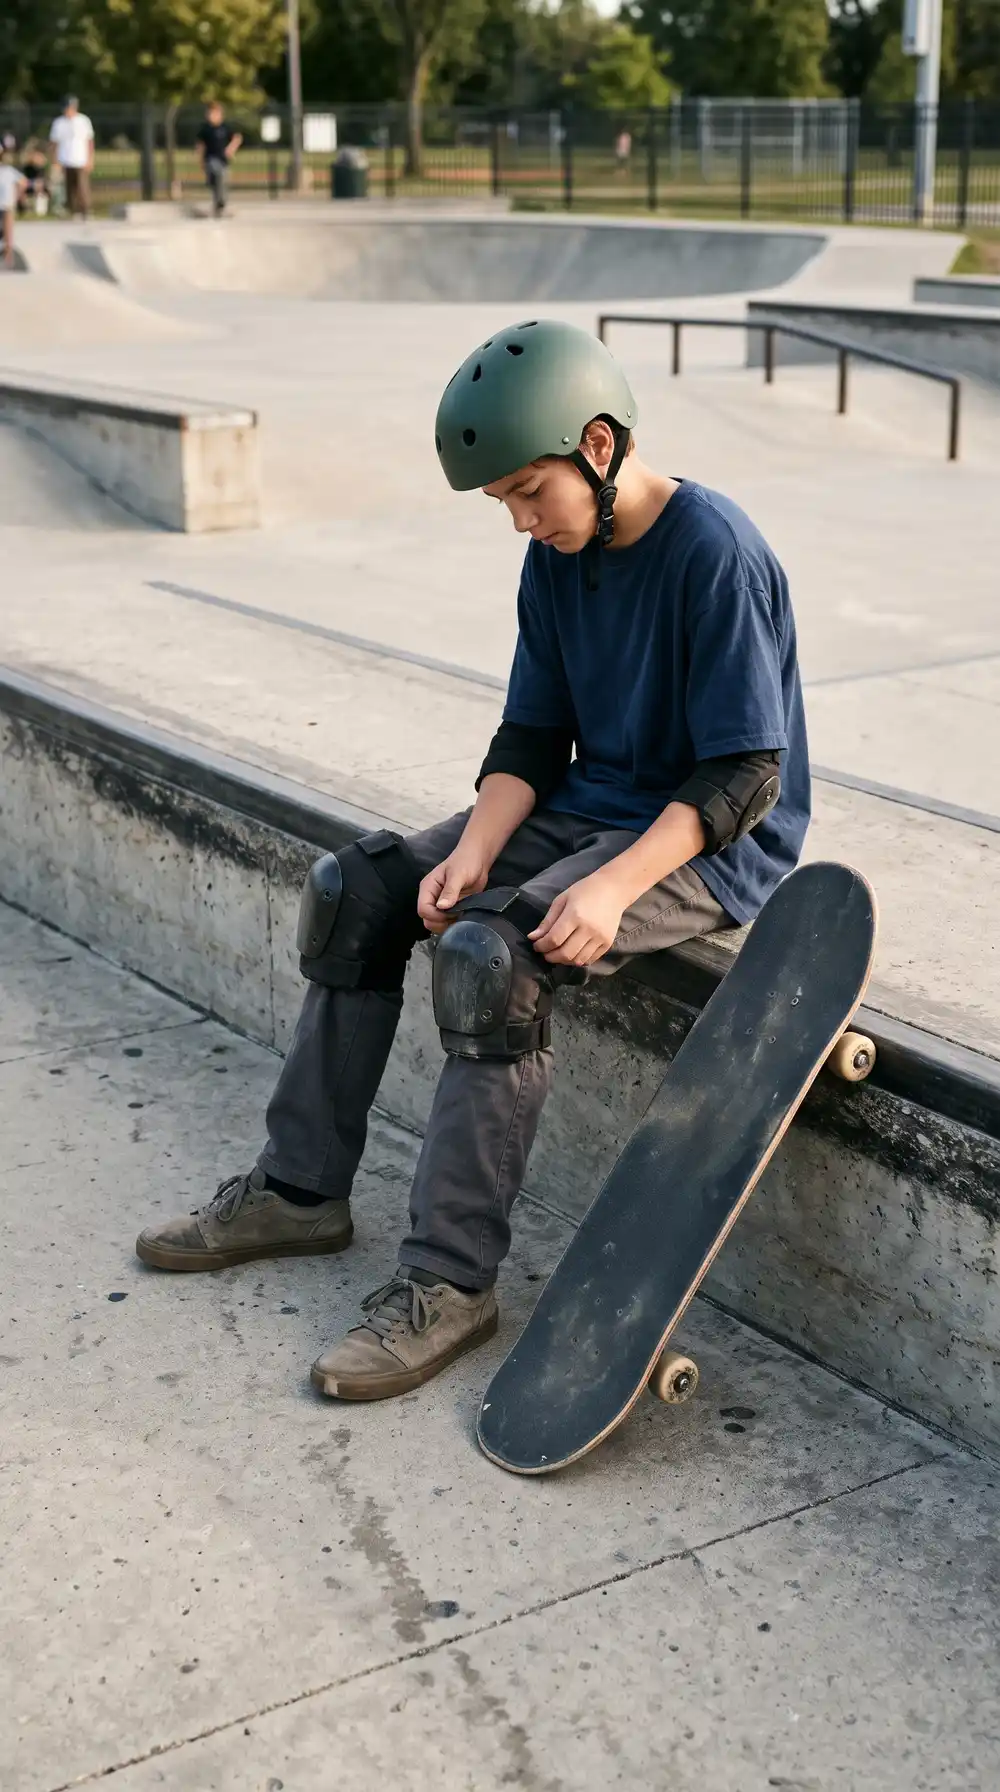
Wear a properly fitted helmet and consider wrist guards, knee pads, and elbow pads, particularly when learning. Warm up with tricks you already control. Do not test a waxed obstacle for the first time at full speed or in a crowded line.
Keep the landing area dry, clean, and free of people. Watch out for bikes, scooters, pedestrians, and anyone entering the spot unexpectedly. Give other skaters room to finish their attempts.
Be careful about where you apply wax. Slippery public rails and curbs can endanger people who never intended to skate them. At a managed skatepark, ask staff before changing a surface and follow posted rules. At private spots, get the owner’s permission. If permission is unclear, leave it unwaxed.
For more preparation advice, review the U.S. Consumer Product Safety Commission skateboarding safety guidance. Protective equipment and a suitable skating area matter more than adding skateboard wax.
Stop if something feels wrong. A sudden acceleration, repeated wheel hang-up, painful fall, or damaged obstacle is a sign to reassess—not a challenge to force the trick.
A Simple Practice Plan for Beginners

First session: Spend time rolling comfortably, turning, stopping, and approaching a low skatepark obstacle. Practice your stance and pop on flat ground before you consider a grind. If a ledge is already smooth, you may not need wax at all.
Second session: Work on a low, approved practice ledge with a clear landing and appropriate protective gear. Look at the contact line, discuss it with park staff or experienced skaters, and practice your approach at controlled speed. Keep your goals small: balance, clean entry, and a safe exit.
Third session: If you already have the skills to use the obstacle, pay attention to how different surfaces feel. Where wax is permitted and genuinely needed, use a tiny amount, test cautiously, and stop if the surface gets unpredictable. Write down what changed rather than guessing next time.
Progress usually comes from repeating a good setup, not constantly changing the obstacle. Take breaks, watch how skilled skaters share the space, and build consistency before you add speed.
Supplies: Skateboard Wax and Cleaning Tools
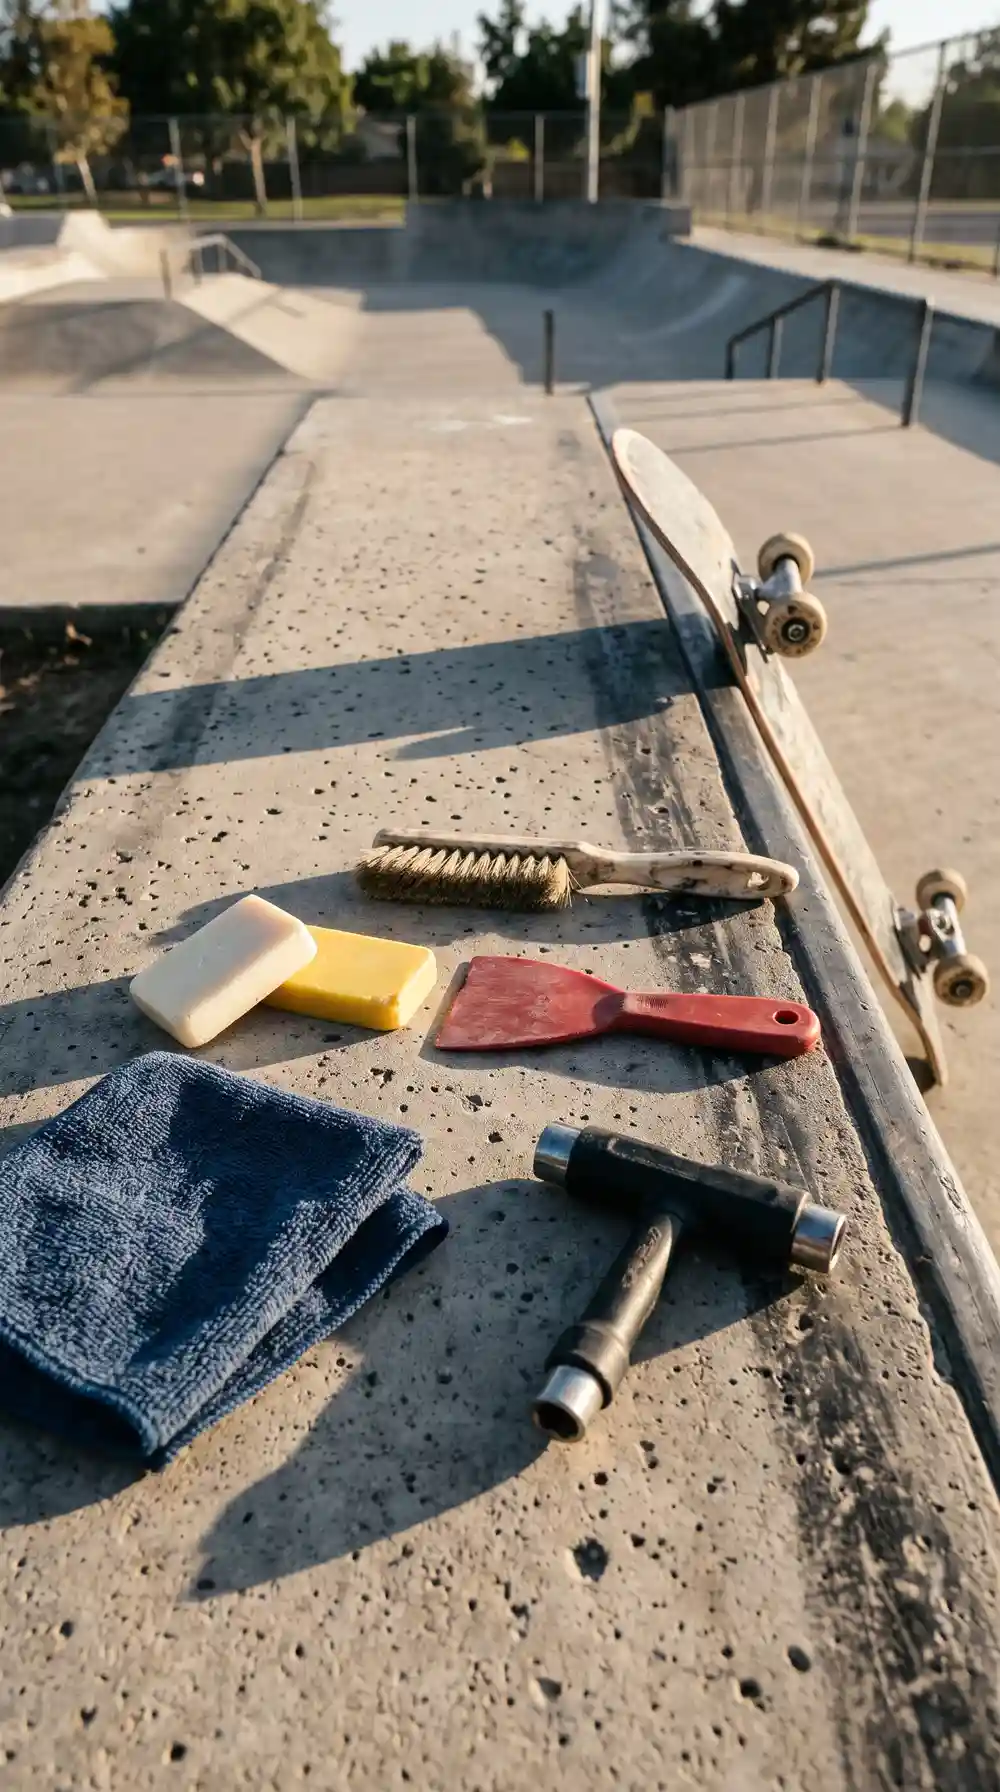
A compact skateboard wax bar is easy to carry in a pocket or bag, and a soft brush and clean rags are enough for most basic dry cleaning. A small plastic scraper can help remove buildup if the owner allows it. Pick up loose scraps and take your trash with you.
If you are wondering how to make skateboard wax, homemade blends typically use melted wax ingredients, but heating wax introduces burn and fire risks and recipes vary a lot in hardness and grip. For most beginners, a ready-made bar is more consistent and avoids an unnecessary kitchen project. Do not melt wax at a skatepark or on an obstacle.
Wax is just one small part of a sensible skate setup. I also keep shoes with good board feel, a tool for basic hardware checks, and protective gear in mind. For a wider look at what is useful to bring, see our 19 Skateboarding Essentials guide, which includes the basics beyond a little bar of wax.
The best skateboard wax job is the one you barely notice: the ledge moves smoothly, the trick remains controllable, and nobody else is put at risk. Start small, test carefully, and treat the spot with respect. If the surface is damaged, off-limits, or already slippery, leave the wax in your bag and work on your skating instead.