How to make a skateboarding box – Easy DIY Guide 2024

Building your skateboarding box is a rewarding journey that blends craftsmanship with the thrill of skateboarding. This comprehensive guide on how to make a skateboarding box walks you through every step of the process, from selecting materials to the final touches. Whether you’re a DIY enthusiast or a skateboarder looking to enhance your skills, this article provides all the information you need to create a durable and functional skateboarding box. Embrace the project and get ready to add a new dimension to your skateboarding practice.
Table of Contents
Understanding the Skateboarding Box
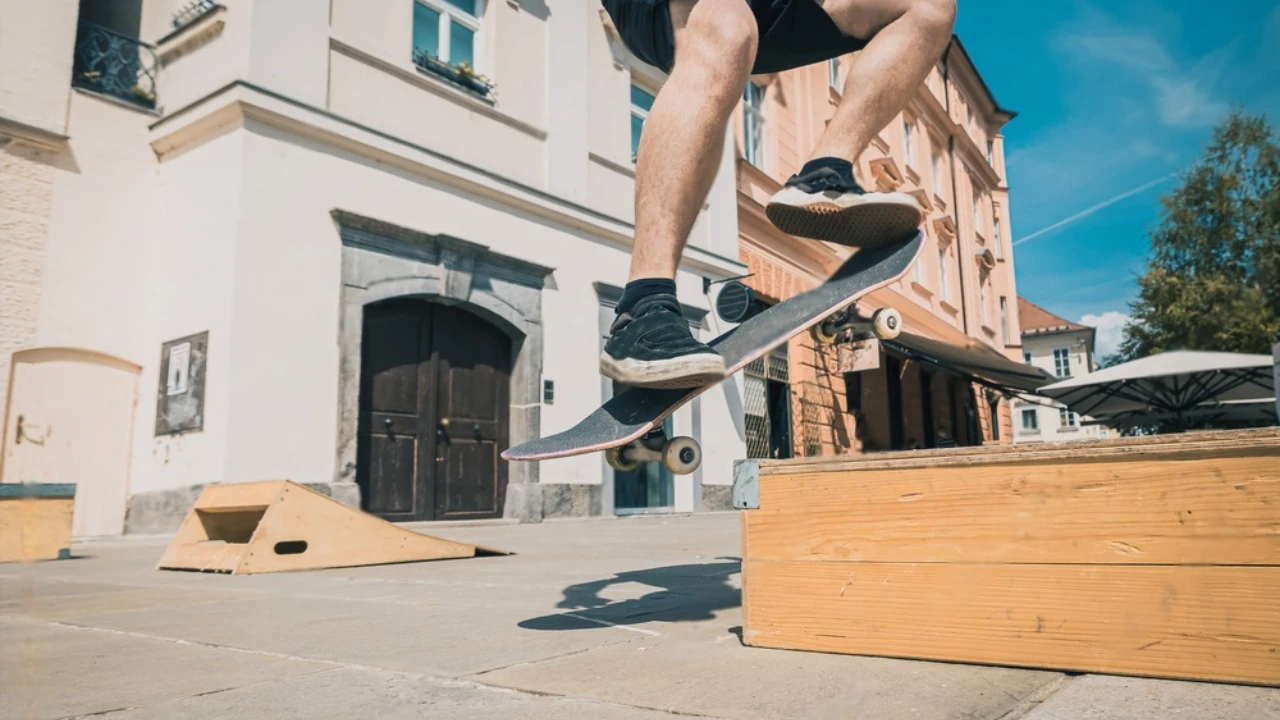
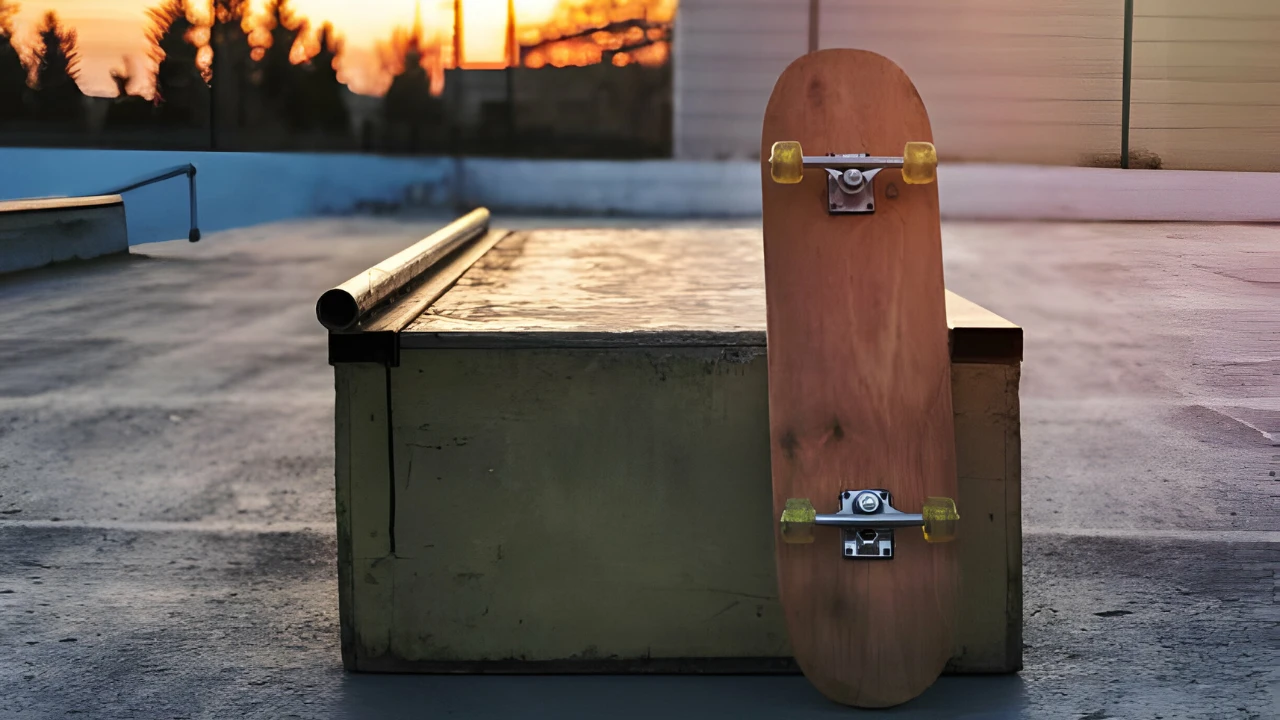
Before diving into the construction details, it’s essential to understand what a skateboarding box is and why it’s a valuable addition to your skateboarding setup. A skateboarding box is a rectangular platform on which you can grind, slide, and perform various tricks. It mimics obstacles found in urban skateboarding but in a controlled environment, allowing skaters to practice consistently and safely.
Materials and Tools Needed

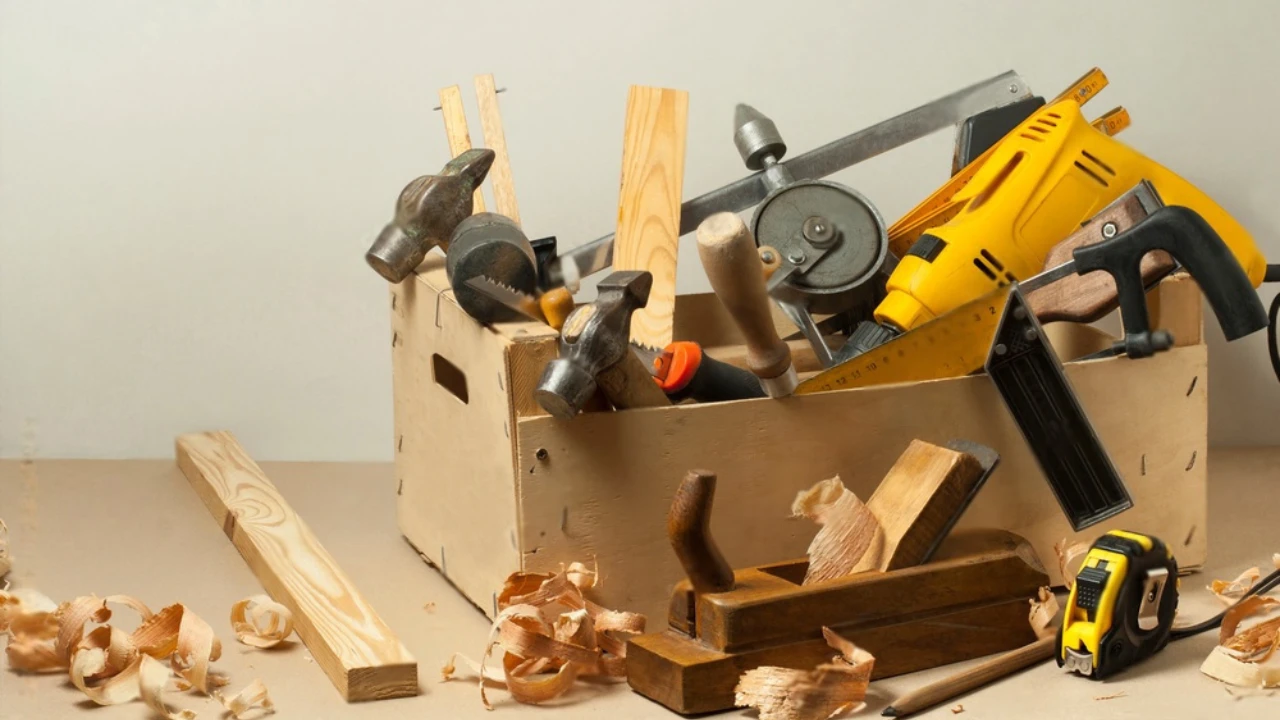
The first step in learning “how to make a skateboarding box” involves gathering all necessary materials and tools. You will need:
- Plywood Sheets (3/4 inch thick):
For the top surface and sides, offering a smooth and durable platform. - 2×4 Inch Lumber:
To construct a sturdy frame that can withstand repeated use. - Wood Screws (2 1/2 inches):
For assembling the frame and attaching the plywood. - Outdoor Sealant or Paint:
To protect the wood from the elements and extend the life of your skateboarding box. - Sandpaper (Medium and Fine Grit):
For smoothing out any rough edges or surfaces. - Tools:
Including a circular saw or hand saw, a power drill, a screwdriver, a measuring tape, and a pencil for marking measurements.]
Standard measurements for constructing a basic skateboard box
Here’s a simple table providing standard measurements for constructing a basic skateboard box. These dimensions can be adjusted based on personal preference and skill level.
| Component | Measurement (Length x Width x Height) |
| Overall Box | 6 feet x 2 feet x 1 foot |
| Plywood Surface | 6 feet x 2 feet (3/4 inch thickness) |
| Frame (2x4s) | Length: 6 feet (2 pieces) |
| Width: 1 foot 9 inches (2 pieces) | |
| Height Supports: 1 foot (several, spaced evenly) |
These dimensions provide a starting point for a standard skateboard box. Remember, the box’s height can be adjusted to suit your preferences, and additional features like metal coping can be added for grinding.
Designing Your Skateboarding Box

Designing your skateboarding box is a critical step that influences its functionality and usability. Consider the following factors:
- Dimensions: A standard skateboarding box is approximately 2 feet wide, 6-8 feet long, and 1-2 feet high. Adjust these dimensions based on your available space and skill level.
- Surface: The top surface should be smooth for easy skating but not so slick that it causes a loss of control.
- Durability: Opt for high-quality materials to ensure your box can endure the wear and tear of skateboarding.
Sketch your design, including all dimensions and plans for any additional features, such as metal edges for grinding.
Step-by-Step Construction Guide
1. Preparing the Materials
Start by cutting your plywood and 2x4s to the required dimensions using your saw. Precision is key, as accurate cuts will ensure a seamless assembly process.
2. Building the Frame
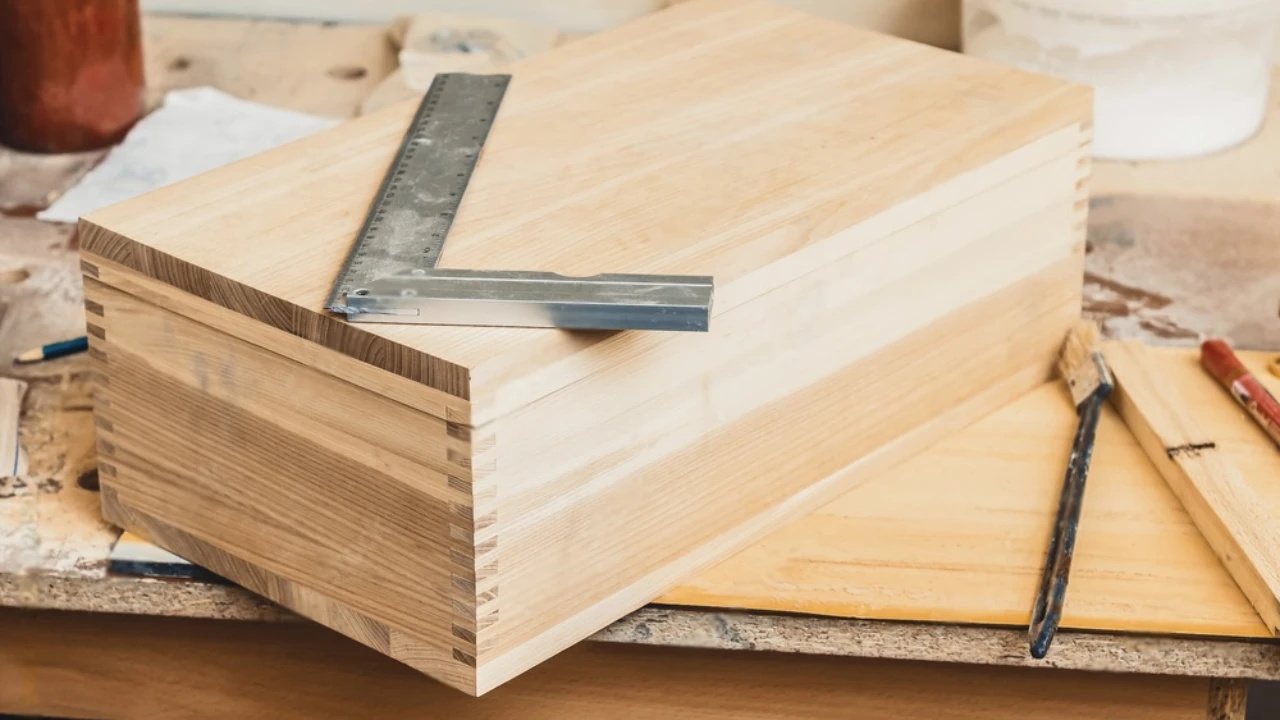
Construct the frame by arranging the 2x4s into a rectangular shape that matches the dimensions of your box. Use wood screws to secure the corners and additional cross-sections for extra support.
3. Adding the Surface
Place the plywood sheet on top of the frame and secure it with wood screws spaced every 6 inches. Ensure the surface is flush with the frame to prevent any edges from sticking out.
4. Sanding and Sealing
Sand the entire skateboarding box, focusing on the edges and corners to eliminate any potential splinters. Apply an outdoor sealant or paint to protect the wood and give your box a finished look.
Safety Measures and Maintenance Tips
Safety is paramount, both during construction and while using the skateboarding box. Wear appropriate safety gear, such as gloves and goggles, when building your box. While skating, always use a helmet and protective pads.
Maintaining your skateboarding box is essential for its longevity. Regularly check for loose screws, worn surfaces, and apply additional sealant as needed to protect against the weather.
Advanced Customizations
Once you’ve mastered “how to make a skateboarding box,” consider adding customizations such as metal coping along the edges for grinding or adjustable legs for varying the height. These additions can enhance your practice and allow you to simulate different skating environments.
Advanced Customizations and Features
After mastering the basics of how to make a skateboarding box, adding advanced features can significantly enhance its functionality and your skating experience. Consider the following customizations:
- Metal Coping:
Installing metal pipes along the edges of your box can add a new dimension to your skating, allowing for smooth grinds and slides. Choose a durable metal that can withstand heavy use, and secure it firmly to prevent any movement during tricks. - Adjustable Height:
For those looking to challenge themselves, creating an adjustable height mechanism can provide versatility. This can be achieved by adding legs with adjustable settings or by constructing additional, stackable sections for the box. - Non-slip Surface:
While the plywood provides a smooth surface for skating, applying a non-slip coating can enhance safety without compromising the quality of your tricks. This is especially useful in damp or outdoor conditions where the wood may become slippery.
Integrating Your Skateboarding Box into Practice Sessions
A skateboarding box is not just a standalone feature; it’s a tool that can be integrated into your overall practice routine to improve your skills. Here are some tips on how to make the most out of your skateboarding box:
- Start with Basic Tricks
If you’re new to using a skateboarding box, begin with basic tricks such as ollies, board slides, and 50-50 grinds. These foundational moves will help you get comfortable with the box and prepare you for more advanced tricks. - Progress to Complex Tricks
As you become more confident, challenge yourself with more complex maneuvers. Incorporate flips and spins, or use the box in combination with other obstacles for a comprehensive skating session. - Routine Maintenance Checks
Regularly inspect your box before and after sessions. Look for loose screws, cracks, or any damage that could impact its safety or functionality. Keeping your box in top condition ensures a safe skating experience.
Maintenance and Upkeep
The longevity of your skateboarding box greatly depends on routine maintenance and care. Here are additional tips to keep your box in prime condition:
- Regular Cleaning: Keep the surface clean from debris, dust, and dirt. A clean surface not only extends the life of the box but also ensures a safer skating experience.
- Weatherproofing: If your skateboarding box is exposed to the elements, periodically reapply a waterproof sealant to protect the wood from moisture and prevent rot.
- Inspect for Wear and Tear: Pay special attention to areas of high wear, such as the surface and edges. These may require more frequent maintenance or replacement to maintain the box’s integrity.
Summary – how to make a skateboarding box

Constructing your skateboarding box is a project that extends beyond the mere act of building, it’s about creating a personalized space where you can challenge yourself, practice your skills, and grow as a skateboarder. By following this guide on how to make a skateboarding box, you’re equipped to build a durable, functional, and safe skateboarding box.
Remember, the key to a rewarding skateboarding experience lies in the effort you put into both the construction and maintenance of your box, as well as how you integrate it into your practice routine. Embrace the process, stay committed to your safety and improvement, and enjoy the journey of becoming a more skilled skateboarder with your custom-made skateboarding box.
